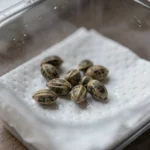
Your seed cracked, the taproot went down, and a pale little stem pushed up with two round leaves on top. Congratulations — the hard part is over and somehow the nerve-wracking part is just beginning. The cannabis seedling stage is the two or three weeks where a brand-new plant is at its most fragile, and it’s where more first grows quietly go wrong than at any other point. Not with a dramatic failure, usually. Just a seedling that stretches tall and floppy, sits there doing nothing for a week, or keels over at the soil line overnight.
The good news: seedlings don’t need much, and most of the trouble comes from doing too much, not too little. This guide walks through the cannabis seedling stage the way it actually unfolds — what a healthy seedling looks like, how to get light and water right (the two things people botch most), how to keep the killers like damping-off out, and when to finally start feeding. We’ll pick up right where germination leaves off; if your seed hasn’t sprouted yet, start with our guide to germinating cannabis seeds first.
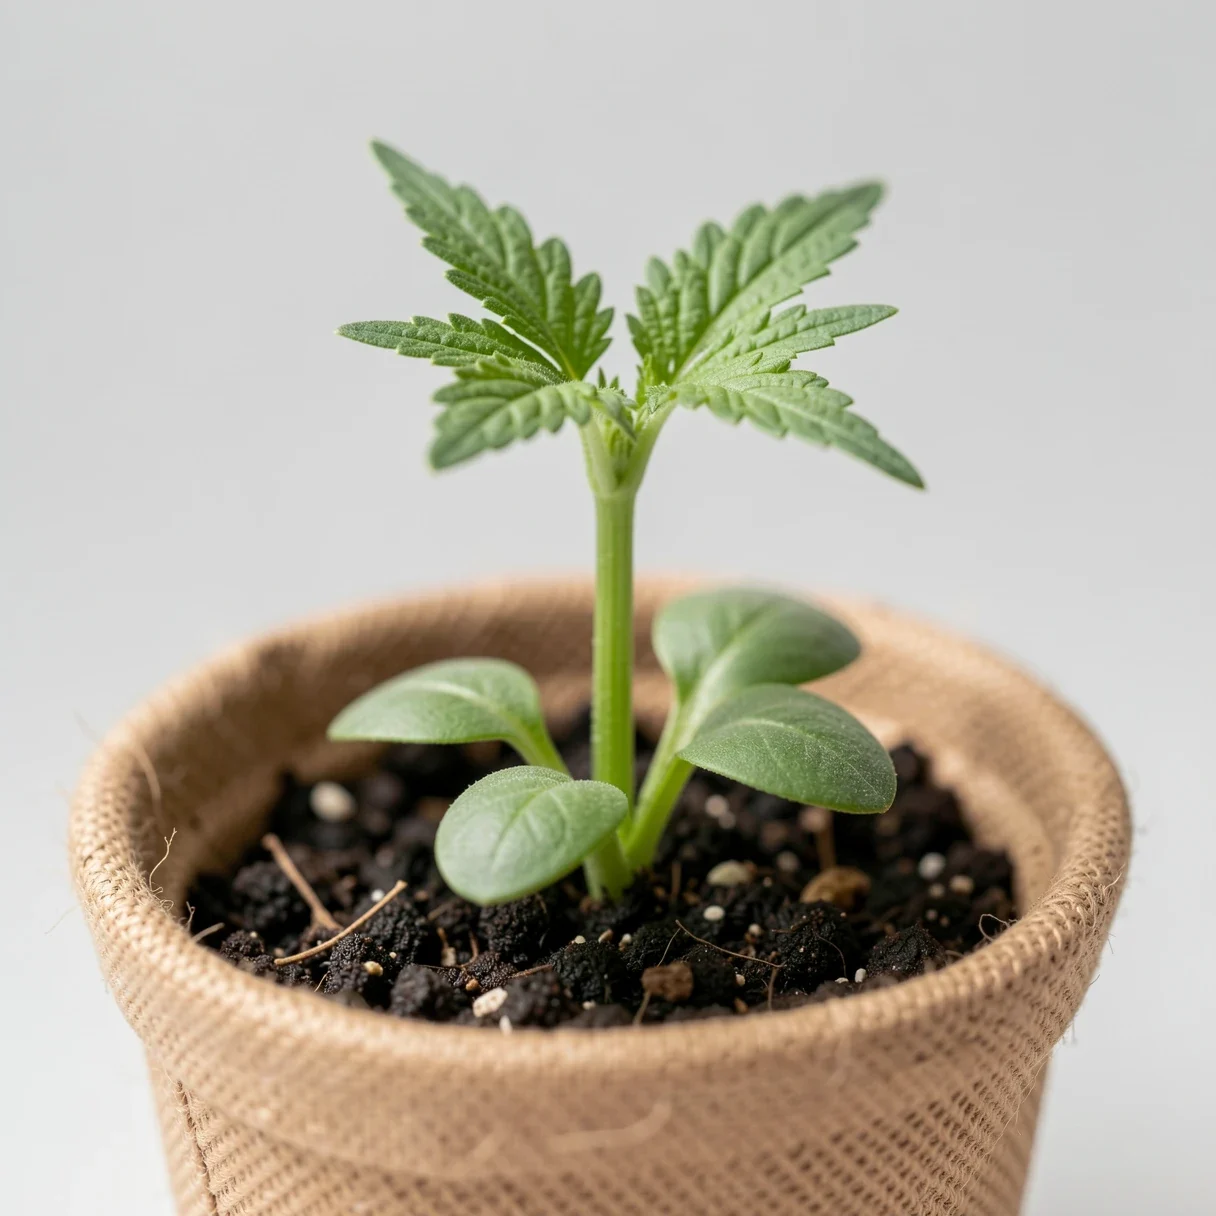
The cannabis seedling stage starts the moment your sprout breaks the surface and ends when the plant has three or four sets of real, serrated cannabis leaves and is growing visibly every day — usually two to three weeks in. The first leaves you see aren’t true leaves at all. They’re cotyledons: two smooth, rounded “seed leaves” that were packed inside the seed to feed the sprout for its first few days. They’ll yellow and drop later, and that’s completely normal.
What matters during the cannabis seedling stage is happening underground. The plant is pouring its energy into building a root system, not top growth, so don’t panic when the visible plant seems to crawl for the first week. A seedling that looks like it’s barely moving up top is often busy below the surface. Your whole job in this stage is to give those young roots a calm, stable place to grow — not too wet, not too bright, not too hot — and otherwise stay out of the way. Where the full grow goes from here is mapped out in our seed-to-harvest timeline.
Knowing what “right” looks like makes problems obvious early in the cannabis seedling stage. A healthy seedling in its first two weeks shows:
If your seedling looks like that, the best thing you can do for the rest of the cannabis seedling stage is almost nothing. Resist the urge to feed it, soak it, or move it closer to the light. The cannabis seedling stage rewards patience more than effort.
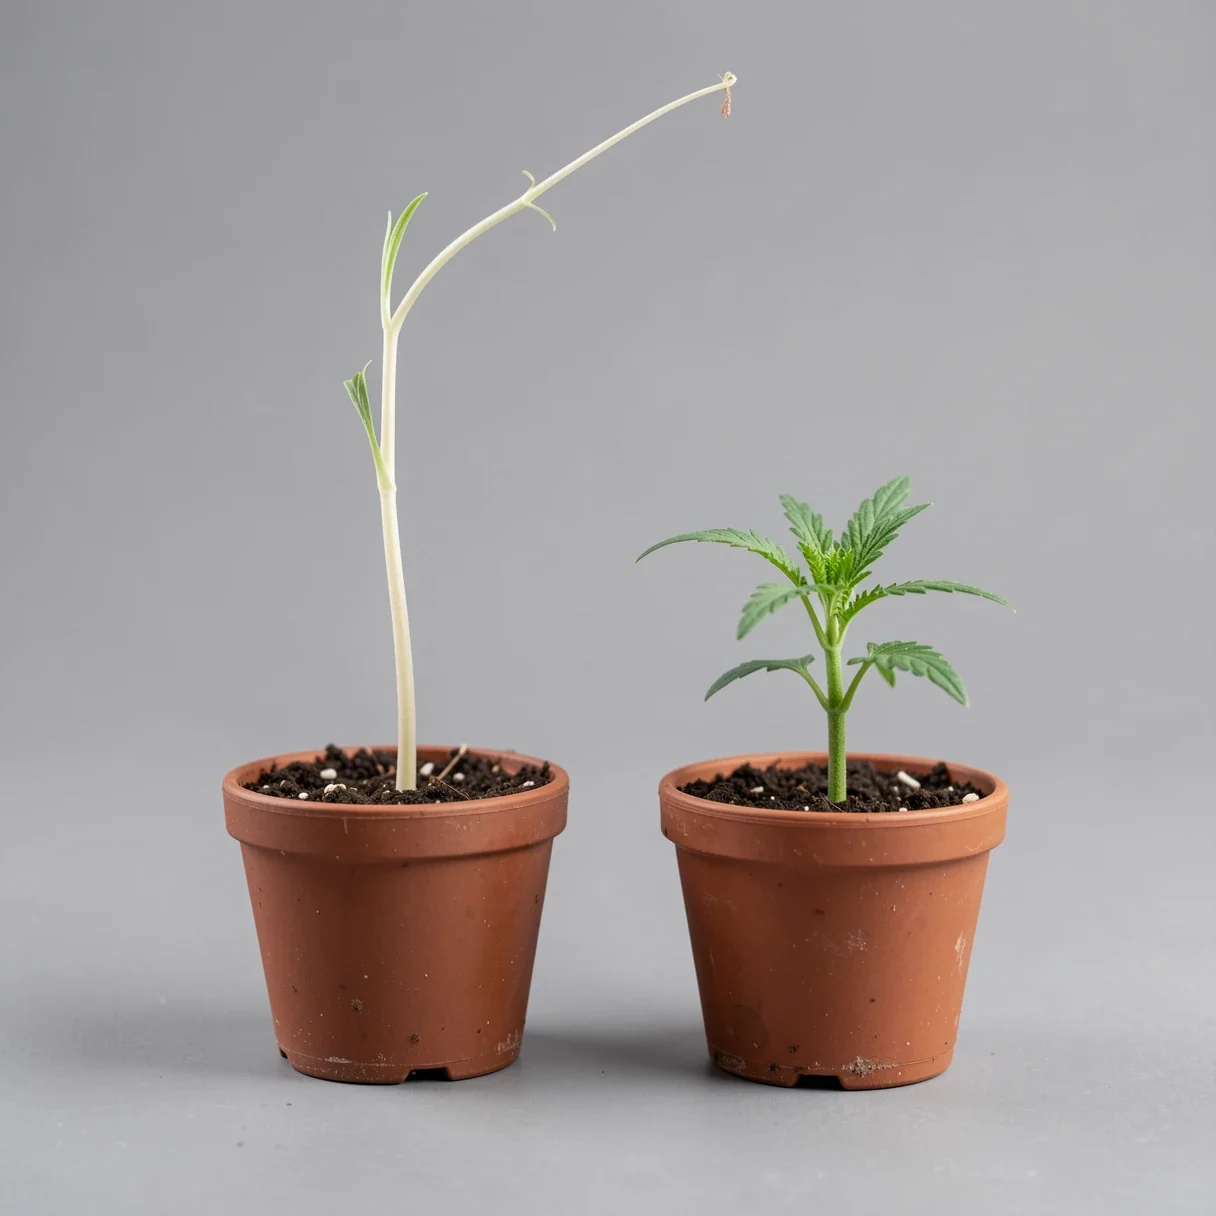
Lighting is the single biggest cause of weak seedlings in the cannabis seedling stage, and it goes wrong in two opposite directions. Too little light — or light that’s too far away — and the seedling stretches: it shoots up a long, spindly stem reaching for the light, a process called etiolation. A stretched seedling is weak, top-heavy, and prone to snapping or falling over. Too much intense light too close, and you’ll bleach or fry those tender first leaves.
Seedlings want bright but gentle light. Under a modern LED, that usually means keeping the light noticeably higher than you would for a flowering plant — often a couple of feet up — and dimming it if you can. A sunny windowsill is rarely enough on its own and almost guarantees a stretched, leaning seedling. Give them a long day, too: 18 hours of light is the standard for the cannabis seedling stage, whether you’re growing autoflowers or photoperiods.
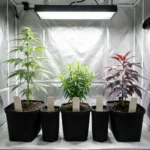
If your seedling has already stretched, don’t start over. Once it has a true leaf set, you can bury the lanky stem deeper when you transplant — cannabis grows roots from a buried stem, so a leggy seedling can often be saved by planting it lower and getting the light closer (carefully). For dialing in light height and the rest of the environment, our grow tent setup guide covers the hardware side.
Overwatering kills more seedlings than anything else during the cannabis seedling stage, and it’s the easiest mistake to make because it doesn’t look like a mistake — you’re being attentive. The problem is that a seedling has a tiny root system that can only drink a tiny amount of water. Soak the whole pot and the roots sit in cold, airless mud, where they can’t breathe and rot sets in. The plant droops, you assume it’s thirsty, you water more, and the spiral tightens.
During the cannabis seedling stage, water lightly and only near the base of the plant. A good approach is a small amount of water in a ring around the seedling every couple of days, letting the surface dry slightly between waterings so the roots reach outward looking for moisture. A big pot of saturated soil around a small seedling stays wet for too long — many growers start seedlings in a small cup or block and pot up later for exactly this reason. The full mechanics of reading moisture and the wet-dry cycle are in our guide to watering cannabis plants.
Through the cannabis seedling stage, seedlings like it warm and a little humid — close to the conditions inside the seed they just came from. Aim for comfortable room warmth, roughly 70–77°F (21–25°C), and higher humidity than a mature plant wants, somewhere around 60–70%. Young seedlings take up a good deal of moisture through their leaves while their roots are barely developed, so humidity in the air takes pressure off that young root system while it grows in.
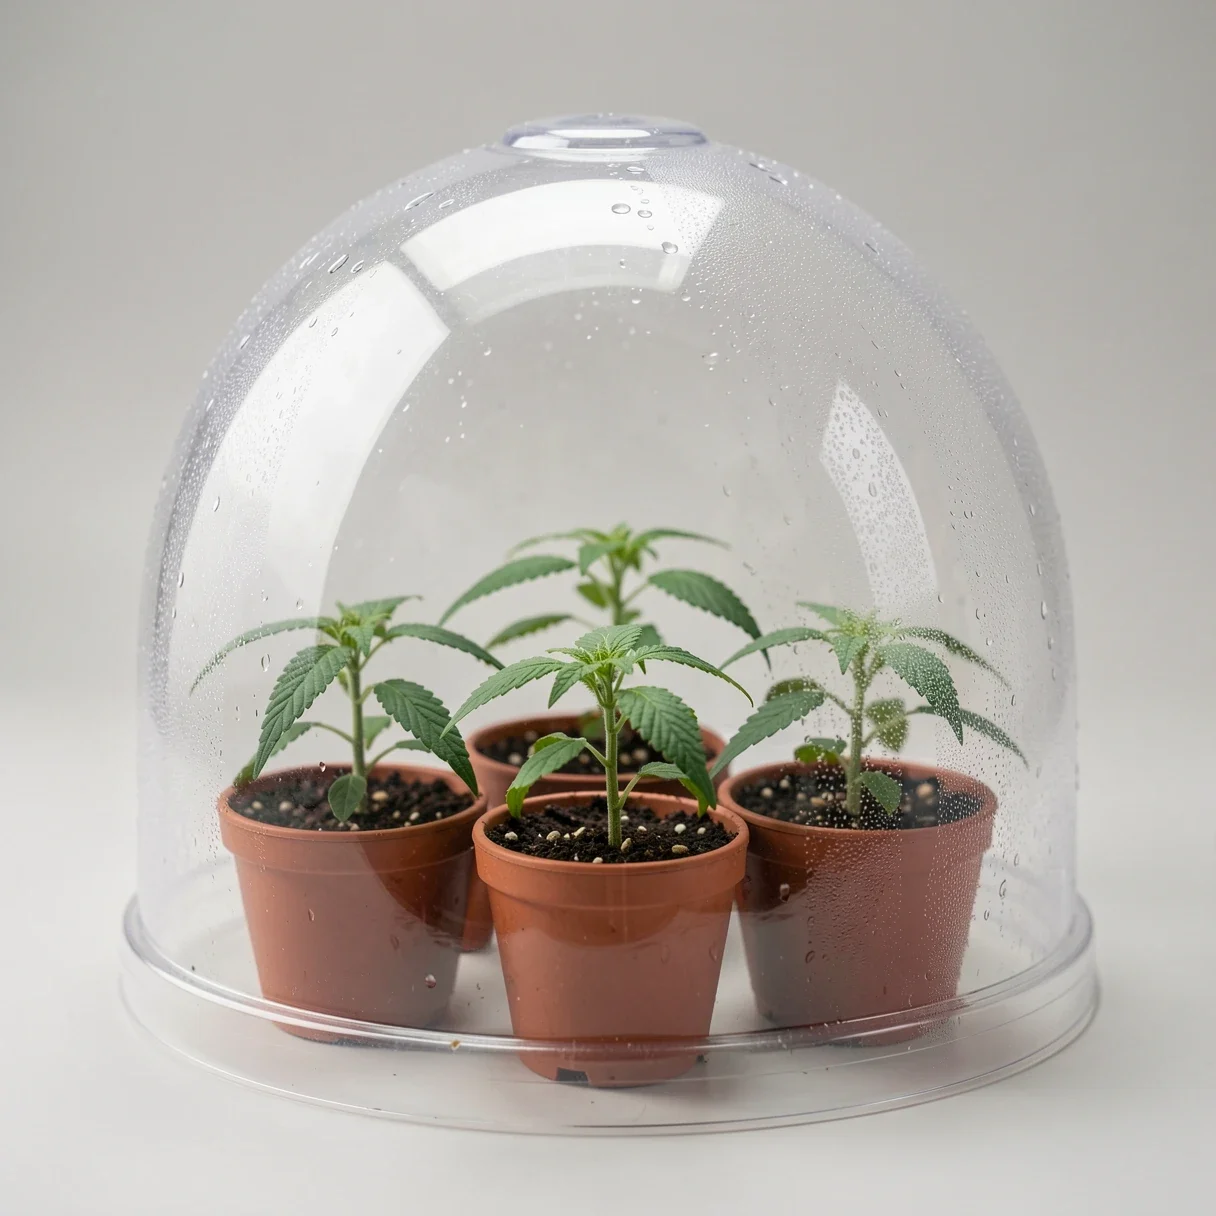
This is what a humidity dome — a clear plastic cover over the seedling — is for during the cannabis seedling stage. It traps humidity around the plant during the most delicate days. Two rules with a dome: vent it a little each day so fresh air gets in and condensation doesn’t pool, and take it off for good once the seedling has a true leaf set and is growing well. Leaving a dome on too long creates the still, damp, stagnant air that fungus loves — which brings us to the thing that actually kills seedlings overnight.
If a seedling that looked fine yesterday is lying flat today with a thin, pinched, brown spot right where the stem meets the soil, that’s damping-off — a fungal disease that attacks seedlings at the soil line and topples them. It’s caused by soil-borne fungi that thrive in exactly the conditions a careless cannabis seedling stage creates: cold, soggy soil and stagnant, overly humid air. It’s the fastest way to lose a seedling, and it strikes overnight. Once it has a seedling, that seedling is usually gone; damping-off is a disease you prevent, not cure.
Prevention is all about not giving the fungus what it wants:
Beyond damping-off, the other seedling killers are the ones already covered — overwatering, a stretched weak stem, and intense light too close. Get light, water, and airflow right and you’ve eliminated almost every way the cannabis seedling stage goes wrong.
Here’s a mistake born of good intentions, and a common one in the cannabis seedling stage: reaching for the nutrient bottle too early. A seedling does not need added nutrients. The cotyledons feed it for the first several days, and a quality seed-starting or potting mix carries enough mild nutrition to cover the entire cannabis seedling stage. Feeding a seedling full-strength nutrients is like handing a newborn a steak — it can’t use it, and it does harm. The classic sign of overfeeding is “nutrient burn”: the very tips of the leaves turning brown and crispy, sometimes with a dark, clawed, overly-green look.
Wait until the plant has three or four true leaf sets and is clearly growing before introducing a light, diluted feed — typically a quarter to half of the recommended strength to start. By then the cannabis seedling stage is ending and early veg is beginning. If your leaves are showing color problems before that, it’s far more likely a watering or pH issue than hunger; our guide to cannabis nutrient deficiencies sorts out which is which.
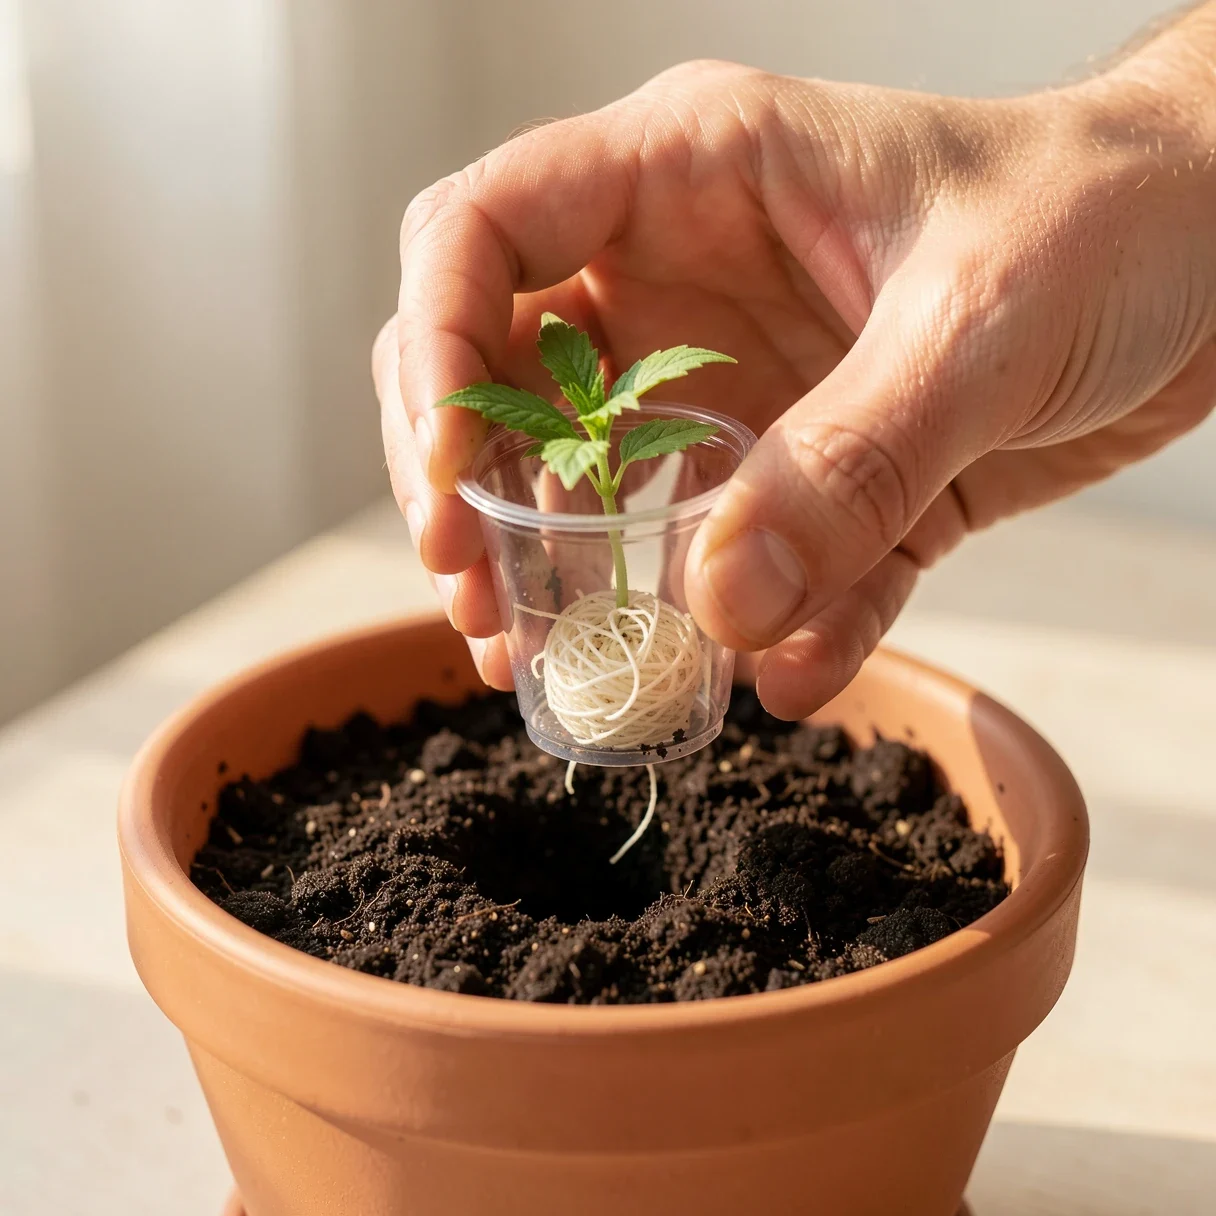
Many growers start seedlings small — a party cup, a peat plug, a small block — and move them into their final pot once roots fill the starter. That “potting up” usually happens right at the end of the cannabis seedling stage, when you see healthy white roots reaching the bottom or sides of the starter container.
Transplant gently. The young root ball is delicate, so handle the plant by its leaves, not its stem (a snapped stem is fatal; a torn leaf is survivable), and disturb the roots as little as you can. Water the seedling lightly a little before moving it so the root ball holds together, settle it into a hole in pre-moistened soil, and keep conditions stable for a few days afterward. Once it’s in its home pot and putting out new growth, the fragile stretch is behind you — the plant is officially in vegetative growth and a lot harder to kill.
Forgiving, vigorous genetics make the cannabis seedling stage far easier from the start, because a hardy strain shrugs off the small early stumbles that would set a touchy one back. Tough classics like Northern Lights Skunk and White Widow, or rugged autoflowers such as Mazar Autoflower and Gorilla Glue Autoflower, are popular first grows for exactly that reason. Our best autoflower strains for beginners and how to choose cannabis seeds guides help you start the next one off right, and you can browse the full autoflower seed collection to find a sturdy one.
Usually two to three weeks. The cannabis seedling stage runs from when the sprout breaks the surface until the plant has three or four sets of true serrated leaves and is growing noticeably every day. Autoflowers move through it on roughly the same clock as photoperiods, but their fixed life cycle means you can’t afford to lose time to a stalled cannabis seedling stage.
It stretched — it didn’t get enough light, or the light was too far away, so it raced upward and built a weak, thin stem. Get a proper grow light closer (carefully), and when you transplant, bury the lanky stem deeper for support. A sunny windowsill alone almost always causes this.
No. A seedling has everything it needs from the cotyledons and a mild starter mix. Wait until it has three to four true leaf sets, then start with a quarter- to half-strength feed. Feeding early causes nutrient burn — brown, crispy leaf tips.
It helps but isn’t mandatory. A dome keeps humidity up around the seedling during its most delicate days, which is useful in dry rooms. If you use one, vent it daily and remove it once the seedling is growing well — a dome left on too long invites damping-off.
If it pinched and browned right at the soil line, that’s damping-off, a fungus that strikes seedlings kept in cold, soggy soil with stagnant air. It can’t be cured once it hits, so prevent it: don’t overwater, give gentle airflow, and use clean medium.
The cannabis seedling stage isn’t hard — it’s just easy to overdo. The cannabis seedling stage comes down to a few simple things: bright-but-gentle light at the right height, light watering that never leaves the soil soggy, warm and slightly humid air, a little airflow, and no nutrients until the plant asks for them. Do those few things and your seedling builds the strong roots and sturdy stem that carry it through the rest of the grow.
The growers who lose seedlings are almost always the ones loving them to death with too much water, too much food, and a light jammed too close. Get those few things right and the cannabis seedling stage stops being the scary part of the grow. Less really is more here.
Once you’re through these first two weeks, the rest of the grow opens up — work through the full library of cannabis growing guides to take your plant from seedling to harvest.
Shop Cannabis Seeds | Germinating Cannabis Seeds | Seed-to-Harvest Timeline | All Cannabis Growing Guides
Want to keep learning? Browse our full library of our cannabis growing guides — everything from germination to harvest, in one place.
Ready to grow? Browse premium seeds from Lighthouse Genetics:
Designed & Built by Wynne Web Design