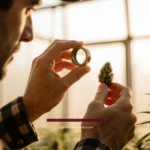
Two growers harvest the same strain on the same day. Same genetics, same light, same trichome color under the loupe. One ends up with jars that smell like the strain is supposed to — gas, citrus, whatever the breeder promised. The other ends up with something grassy and harsh that scratches the throat. The difference is almost never the grow. It is what happened after the cut. Learning how to cure cannabis is the cheapest, highest-return skill a home grower can pick up, and most people skip it.
The cure is the slow, sealed-jar stage that comes after drying. It is where chlorophyll breaks down, harshness fades, and the aroma the plant built over twelve weeks finally comes forward. Done right it takes patience and almost no money. Done wrong — or not at all — it quietly throws away a chunk of quality you already paid for in genetics, electricity, and time. This is how to cure cannabis properly, step by step, with the burping schedule and the humidity targets that actually matter.
Fresh-dried cannabis is not finished cannabis, and that gap is the whole reason how to cure cannabis matters. The bud still holds residual sugars, starches, and chlorophyll left over from a living plant. Chlorophyll is the big one — it is what makes uncured weed taste like cut grass and hay. A proper cure gives slow enzymatic and microbial activity inside the jar enough time to break those compounds down. The grassy notes recede and the strain’s true terpene profile steps forward.
There is a second payoff that smokers notice immediately: smoothness. Cured flower burns slower and cleaner, holds a white-to-gray ash instead of black, and is far easier on the throat and lungs. The harsh “green” cough you get from rushed weed is mostly unburned plant material and trapped moisture. The cure fixes both, which is half of why how to cure cannabis is worth the wait. It will not raise your THC number — potency is set at harvest — but it absolutely changes how that potency feels and tastes.
One myth worth killing: curing does not decarboxylate your weed or make it stronger. Decarboxylation needs heat. The cure is a low-temperature aging process. What it does is preserve and refine what is already there, and slow the natural breakdown of THC into CBN that otherwise speeds up with light and warmth. That is why knowing how to cure cannabis is really about protecting an asset, not boosting one.
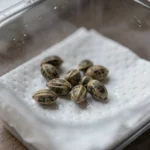
You cannot cure wet weed, and you cannot rescue a bad dry with a good cure. The two are a sequence. Drying pulls the bulk of the water out of the flower over roughly 10 to 14 days in a cool, dark, gently moving airflow. If you skipped that or rushed it, fix it before you read further — the right drying temperature for cannabis (60-68°F at 55-65% RH) is the foundation everything below sits on. Skip the dry and how to cure cannabis becomes a salvage job instead of a refinement.
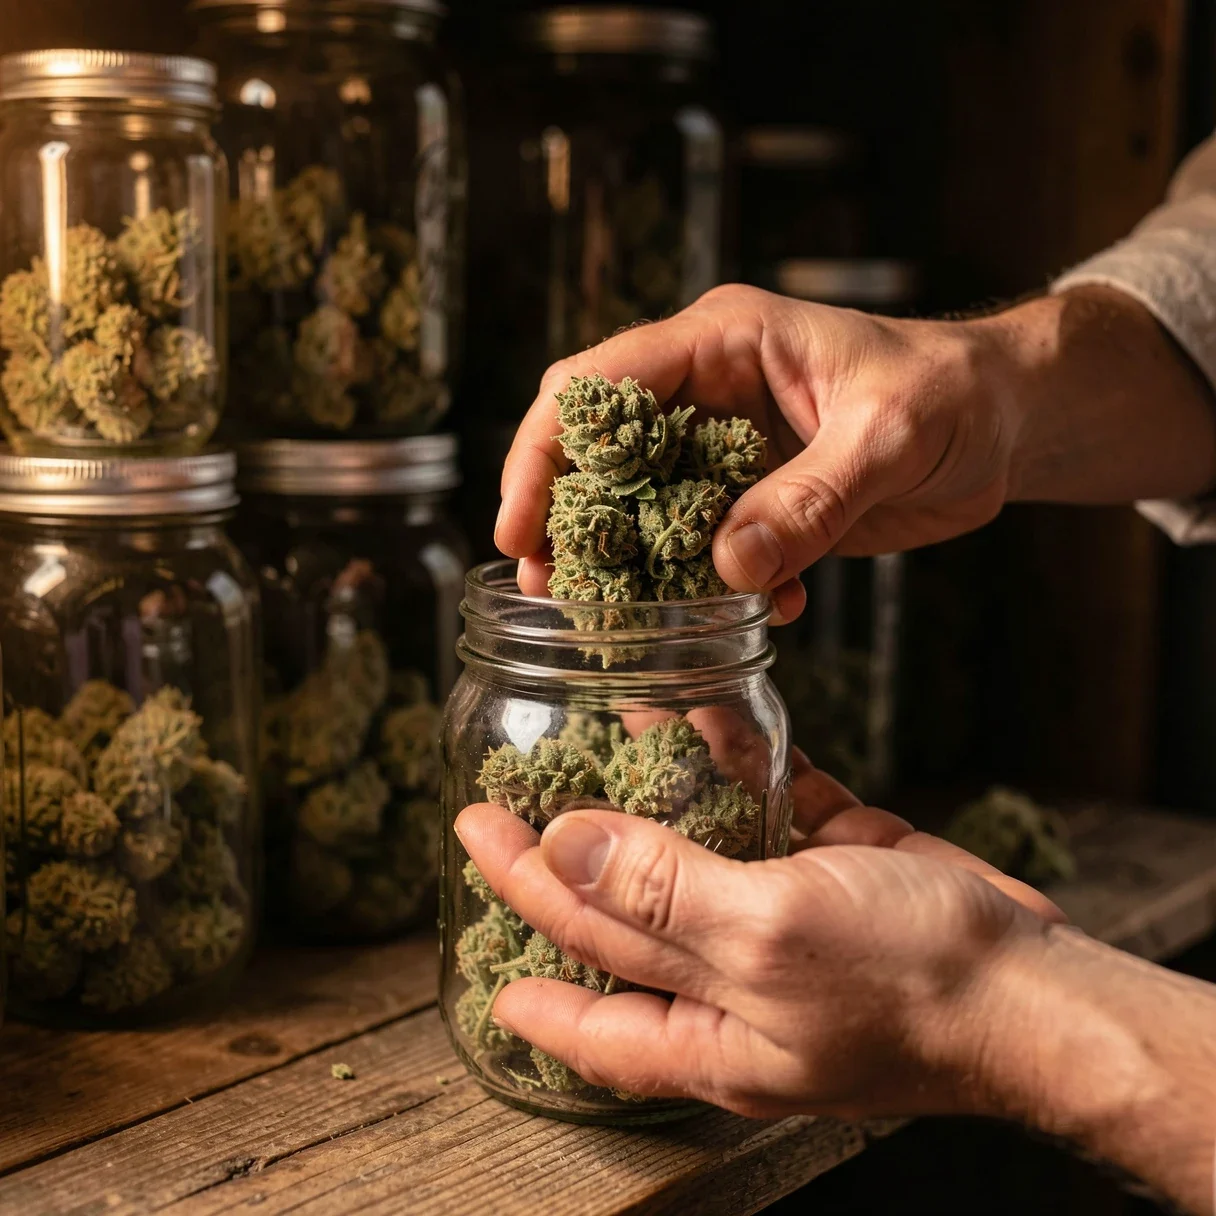
The test for “dry enough to jar” is the stem snap. Take a branch and bend a smaller stem. If it snaps cleanly with a crack, it is ready. If it just bends and folds, the inside of the bud is still wet and needs another day or two of hanging. Jarring buds that bend instead of snap is the single most common way new growers grow mold in their cure. Get the dry right, confirm the snap, then move to glass — because how to cure cannabis really starts the moment the buds hit the jar.
Here is how to cure cannabis from the first jar to finished flower. None of it is complicated — the hard part is the patience, not the technique.
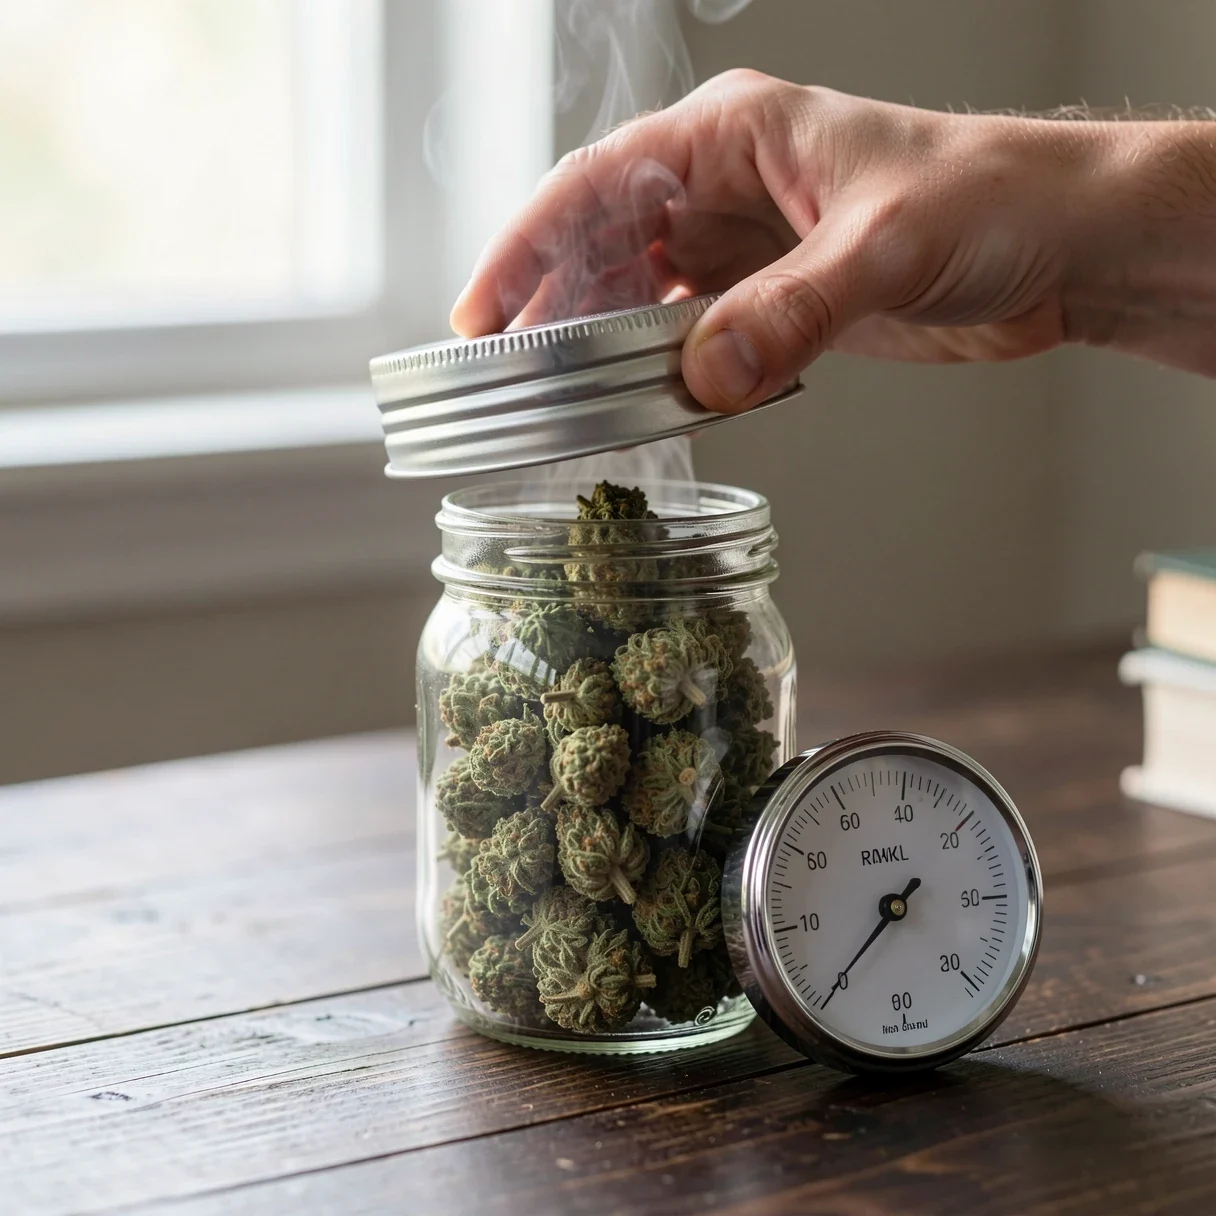
“Burping” just means opening the sealed jar to vent moisture-laden air and let dry air back in. Burping is the heartbeat of how to cure cannabis. It does two jobs at once: it stops humidity from building to mold levels, and it carries off the gases (ammonia, CO2) that the breakdown process releases. Skip it and a too-wet jar will start to smell like ammonia within days — the signature of anaerobic bacteria, and a sign you are heading toward rot.
The pattern tightens early and loosens as the buds stabilize:
| Stage | Burp frequency | What you’re doing |
|---|---|---|
| Week 1 | 1-2× per day, 5-10 min each | Venting the most moisture; watching RH settle toward 60% |
| Week 2 | Once per day, ~5 min | RH should hold steadier near 58-62% after closing |
| Weeks 3-4 | Every 2-3 days | Buds are stable; mostly checking, not correcting |
| Week 4+ | Once a week (or less) | Long, slow refinement — the jar largely runs itself |
If at any burp the RH reads high (65%+) and stays there after airing, the buds were not dry enough going in. Pull them out, hang them another half-day, and re-jar. It is annoying but it beats losing the whole batch to mold. This correction loop is the part of how to cure cannabis that nobody warns you about, and it is exactly why the in-jar hygrometer earns its keep.
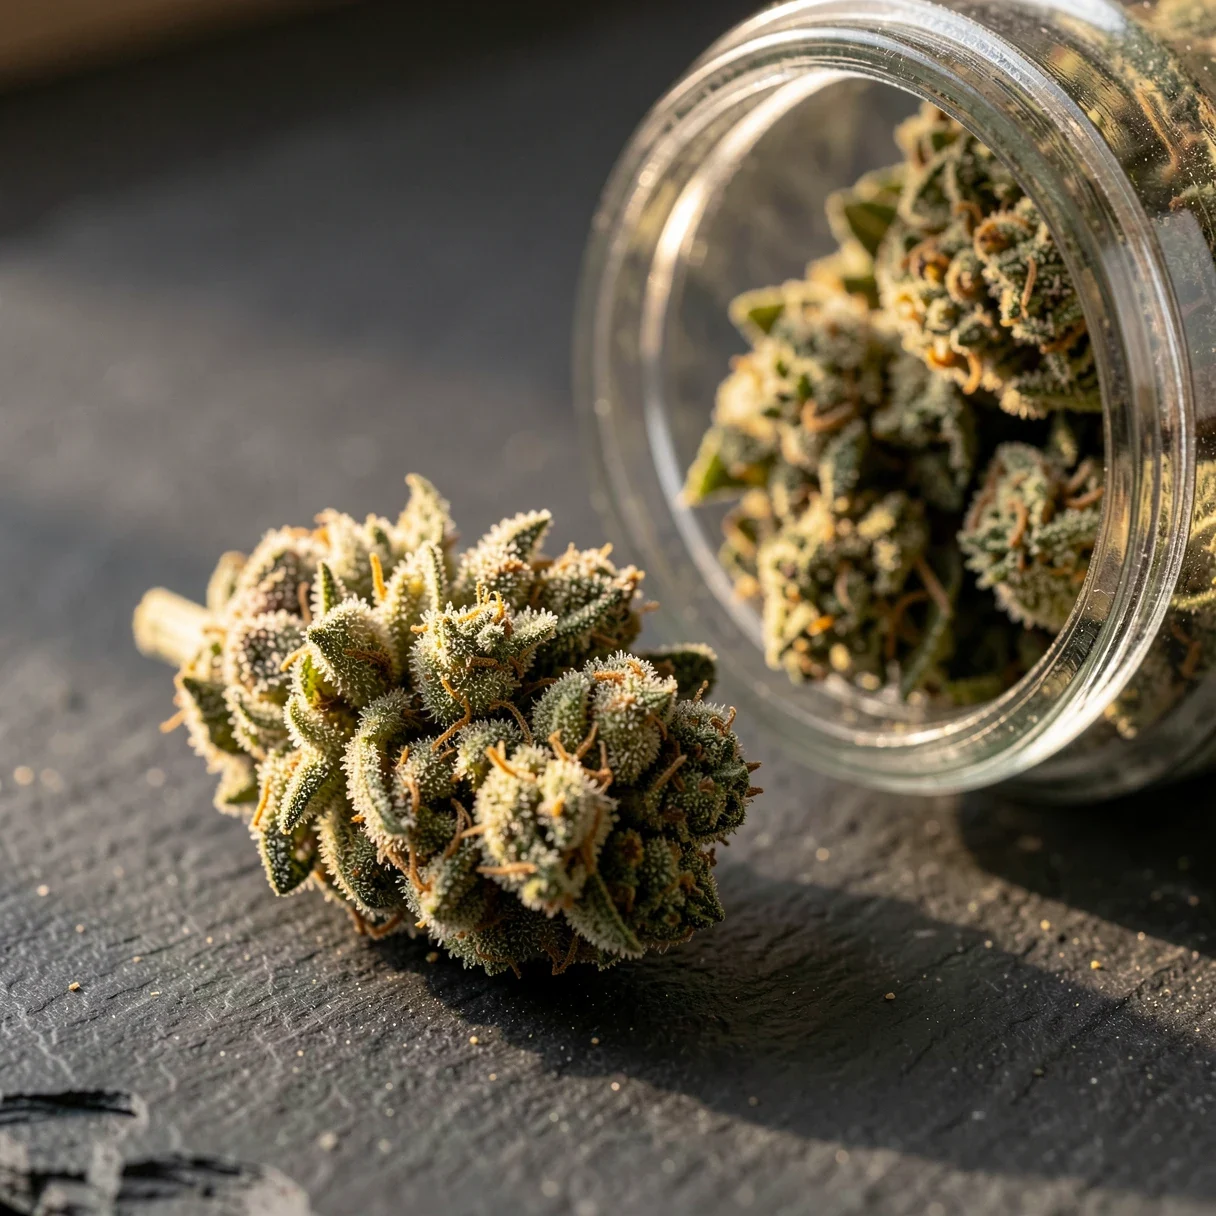
There is no exact finish line in how to cure cannabis, but there are clear signals. The first is smell. Early in the cure the jar carries a green, vegetal, slightly sharp note. Over two to four weeks that shifts — the hay fades and the actual strain comes through: the citrus, the fuel, the berry, whatever the genetics carry. When you open a jar and the aroma is rich and “true” rather than grassy, the cure is working.
The second signal in how to cure cannabis is humidity stability. A finished cure holds a steady 58-62% RH in the jar without you touching it for a week. The third is feel and burn: buds should be dry to the touch on the outside but still slightly spongy when squeezed, snap back rather than crumble to dust, and burn to a clean pale ash.
The minimum useful cure is about two weeks. The real sweet spot is four to eight weeks, and many of the best strains keep improving past that — some growers cure premium flower for two to three months. You are never forced to wait that long, but the patience pays in flavor every single time. That long tail of slow improvement is the quiet reason serious growers obsess over how to cure cannabis.
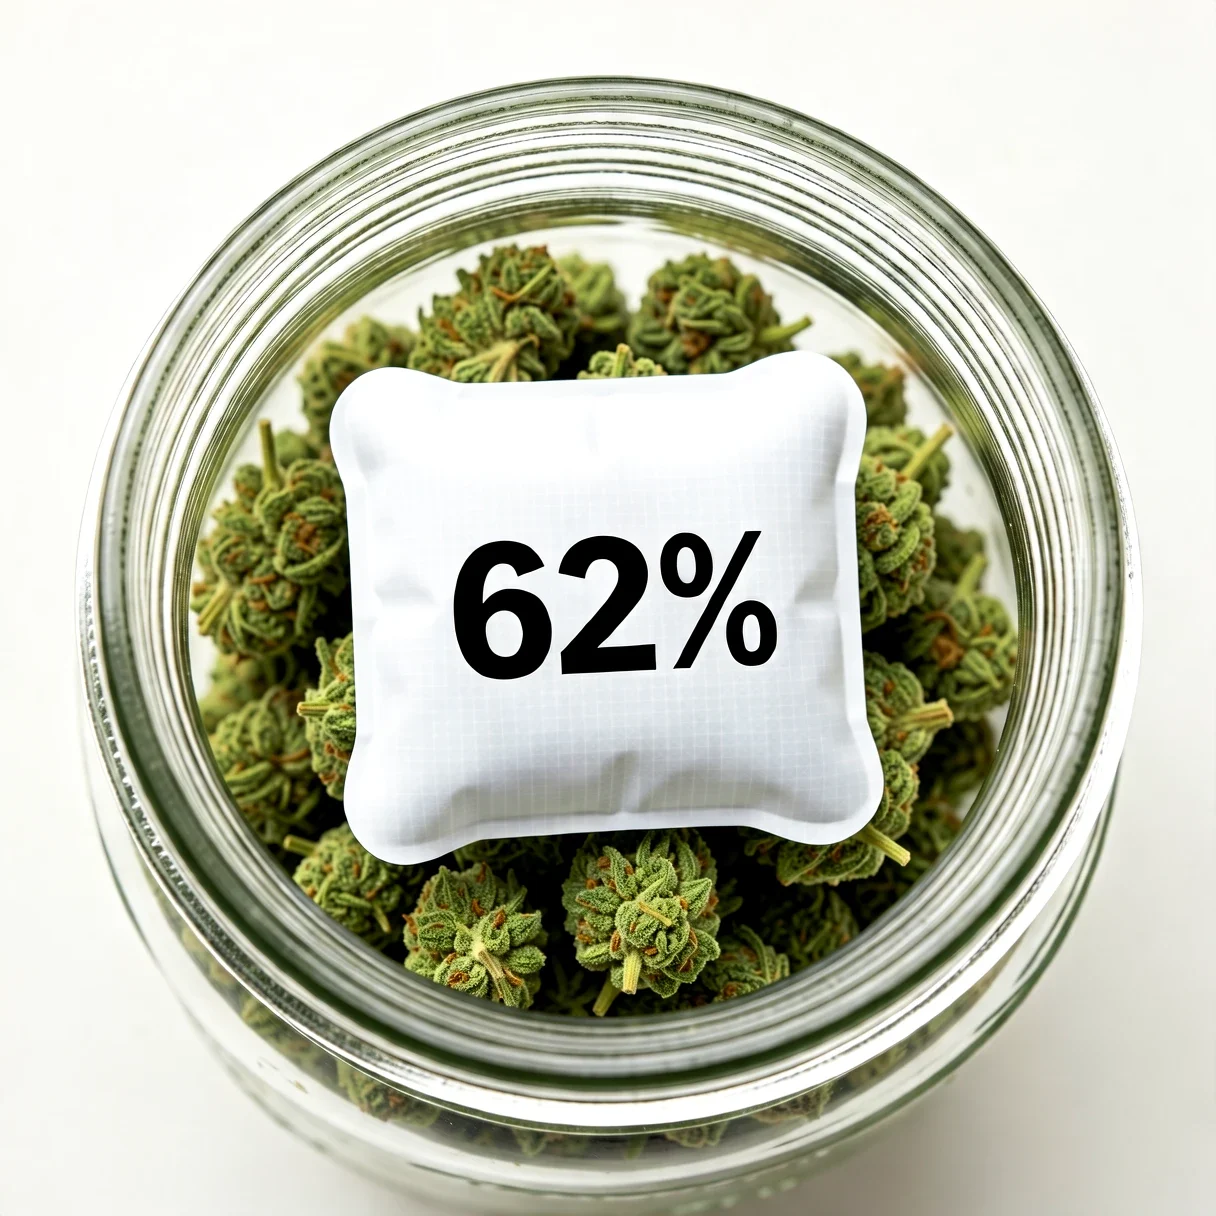
Two-way humidity control packs (Boveda, Integra and similar) sit in the jar and both absorb and release moisture to hold a fixed RH — 62% and 58% are the common cannabis sizes. They are genuinely useful, and one of the easiest shortcuts in how to cure cannabis, with one caveat: a humidity pack is a stabilizer, not a sponge. If you drop one into a jar of under-dried buds, it will get overwhelmed and the buds can still mold. Use packs to hold a cure that is already in range, not to fix a too-wet one.
My honest take: burp by hand for the first one to two weeks while the bulk moisture is leaving, then add a humidity pack for the long, slow back half of the cure when you do not want to babysit jars daily. You get the control of hand-burping when it matters and the convenience of a pack when it does not — the most practical answer to how to cure cannabis without babysitting jars.
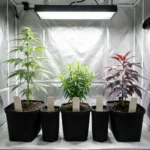
How to cure cannabis is the same routine for every strain, but the ones that reward it most are the terpene-forward and the dense-budded. Aroma-heavy cultivars have the most to lose to a lazy finish and the most to gain from how to cure cannabis done carefully. Strains like Orange Creamsicle, Forbidden Fruit, and Frosted Grape Shoes are bred around a specific flavor — a rushed jar flattens exactly the thing you grew them for.
Dense indica-leaning buds need the cure for a different reason: their tight structure traps interior moisture, so they are the most prone to a re-wetting “sweat” and need the most attentive early burping. Cement Shoes, Blueberry Kush, and Godfather OG all fall here — jar them a touch drier and watch week one closely.
High-THC strains like Gorilla Glue #4 and Bruce Banner hold their potency longest when cured and then stored cool and dark, since a good cure slows the THC-to-CBN slide. Growing autoflowers? Gorilla Glue Auto and Bruce Banner Auto cure exactly the same way — fluffier autoflower buds just tend to stabilize a day or two faster. Whatever you grow, how to cure cannabis stays the same; only the timing shifts a little by bud density.
Almost every failure in how to cure cannabis traces back to the same short list of errors. Avoid these six and you avoid nearly all of them.
How to cure cannabis well is mostly a test of patience: two weeks minimum for a noticeable improvement, four to eight weeks for the sweet spot, and up to two or three months for premium flower. The longer slow cure keeps refining flavor and smoothness with diminishing but real returns.
58-62% relative humidity is the target for how to cure cannabis, measured with a hygrometer inside the jar. Above 65% you risk mold; below 55% the cure stalls and the buds just dry out. The middle of that band is ideal.
Yes — burping is non-negotiable in how to cure cannabis, especially in the first two weeks. Burping vents the moisture and gases that build up and prevents the humidity from climbing to mold levels. Once the RH holds steady at 58-62% on its own, you can stretch to weekly or add a humidity pack.
For the back half of how to cure cannabis, yes — they hold a set RH automatically. But they cannot dry out buds that went into the jar too wet, so still hand-burp the first week or two while the bulk moisture leaves.
That is anaerobic bacteria, and it means the buds are too wet and not getting enough air. Take them out, hang them to dry further for a day, burp more often, and the smell should not return. Caught early it is fixable; left alone it becomes rot. It is the most common scare in how to cure cannabis, and almost always reversible.
No. Potency is locked in at harvest. Curing preserves and refines flavor, smoothness, and aroma, and slows the natural breakdown of THC over time — but it does not raise the THC number. Knowing how to cure cannabis is about protecting quality, not adding it.
Curing is the least glamorous and most overlooked stage of the whole grow, and it is where more quality gets thrown away than almost anywhere else. The recipe is simple: dry until the stems snap, jar to three-quarters in glass, hold 58-62% RH, burp daily for the first couple of weeks, then slow down and wait. Cool, dark, patient. That is the entire art of how to cure cannabis, and it costs you nothing but time.
The plants do the hard work over twelve weeks. How to cure cannabis is your last chance to honor it — or waste it. If you want to get the stages before this one right, read our guides on when to harvest cannabis by trichome color, why you can skip the pre-harvest flush, and the full seed-to-harvest timeline. For the bigger picture, our cannabis grow guides walk every stage from seed to jar. And it all starts with genetics worth curing — browse the full seed catalog and grow something the jar can be proud of.
Want to keep learning? Browse our full library of guides to growing cannabis — everything from germination to harvest, in one place.
Ready to grow? Browse premium seeds from Lighthouse Genetics:
Designed & Built by Wynne Web Design