A grow tent is the cheapest way to take control of a room you don’t actually control. Your closet is too humid, your spare bedroom swings fifteen degrees between noon and 3 a.m., and the light leaking under the door confuses a flowering plant. Zip a tent up around four square feet of that same space and suddenly you decide the light, the air, the temperature, and the smell. That is the whole pitch.
The catch is that a tent is just an empty box with reflective walls. Everything that makes it work — the light, the exhaust, the fans, the way air moves through it — you bolt in yourself, and the order you do it in matters. This is a practical grow tent setup walkthrough: what goes in, why it goes there, and the mistakes that cost beginners a harvest. If you’re still deciding between four walls and the open sky, our take on indoor vs outdoor growing is worth a read first.
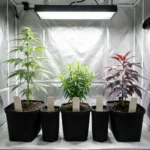
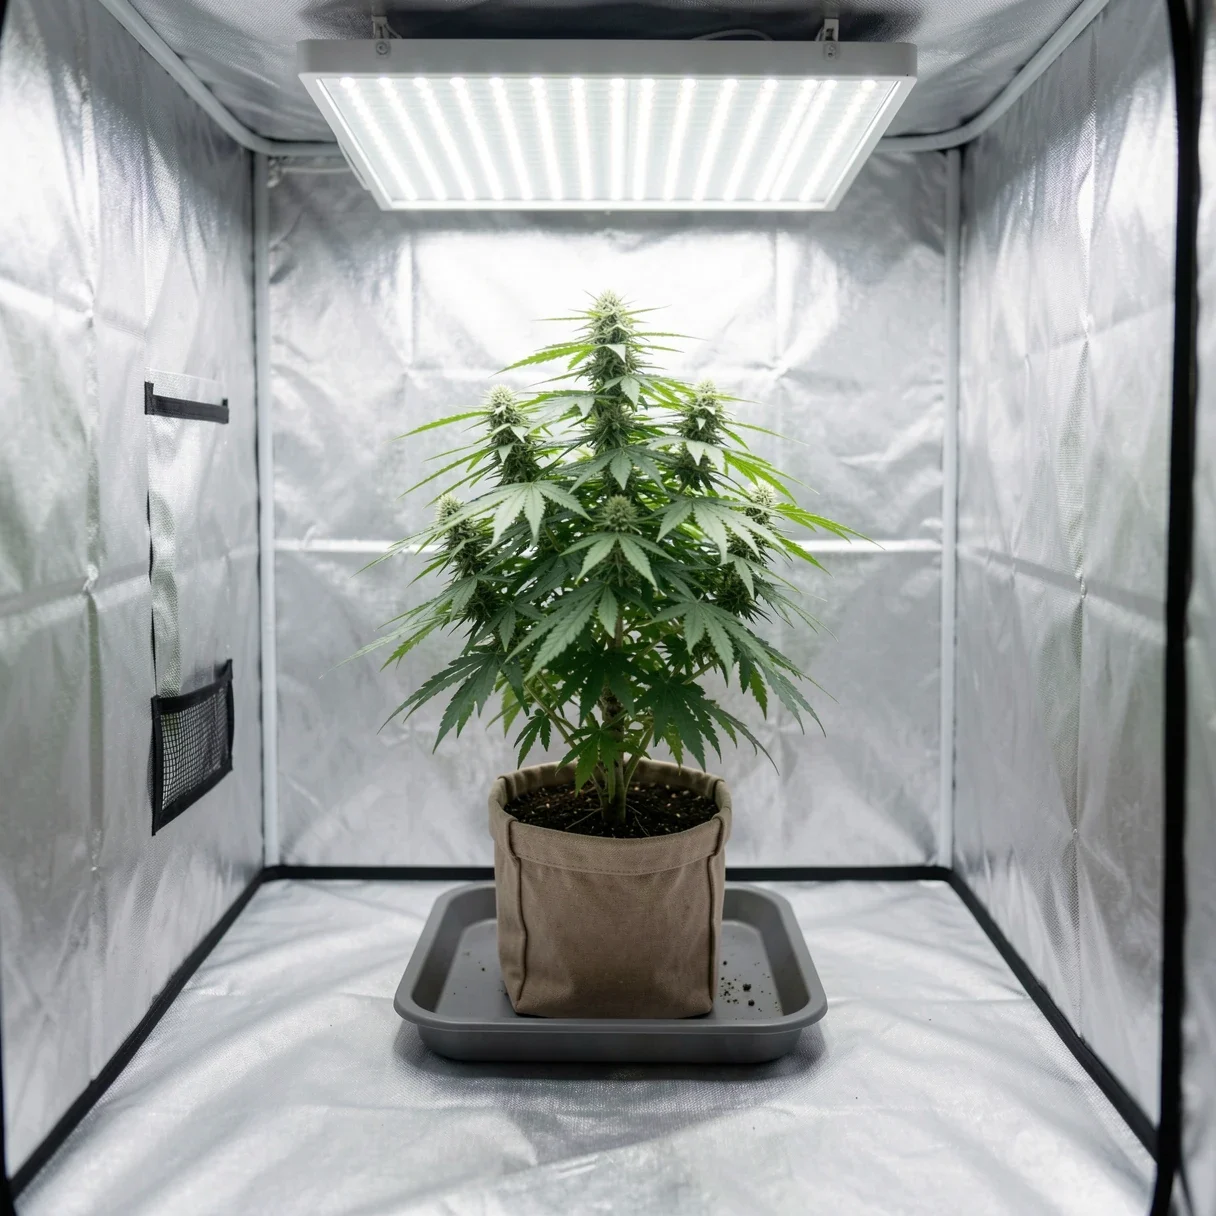
Every grow tent setup starts with one honest question: how much space can you actually give it? Most beginners buy too big. A 2×2 tent fits one plant comfortably and runs on a small light you can afford. A 4×4 fits four plants but needs a light, a fan, and an electrical budget to match — and a half-empty 4×4 is harder to keep stable than a full 2×2. Buy the tent that fits the grow you’ll actually run this year.
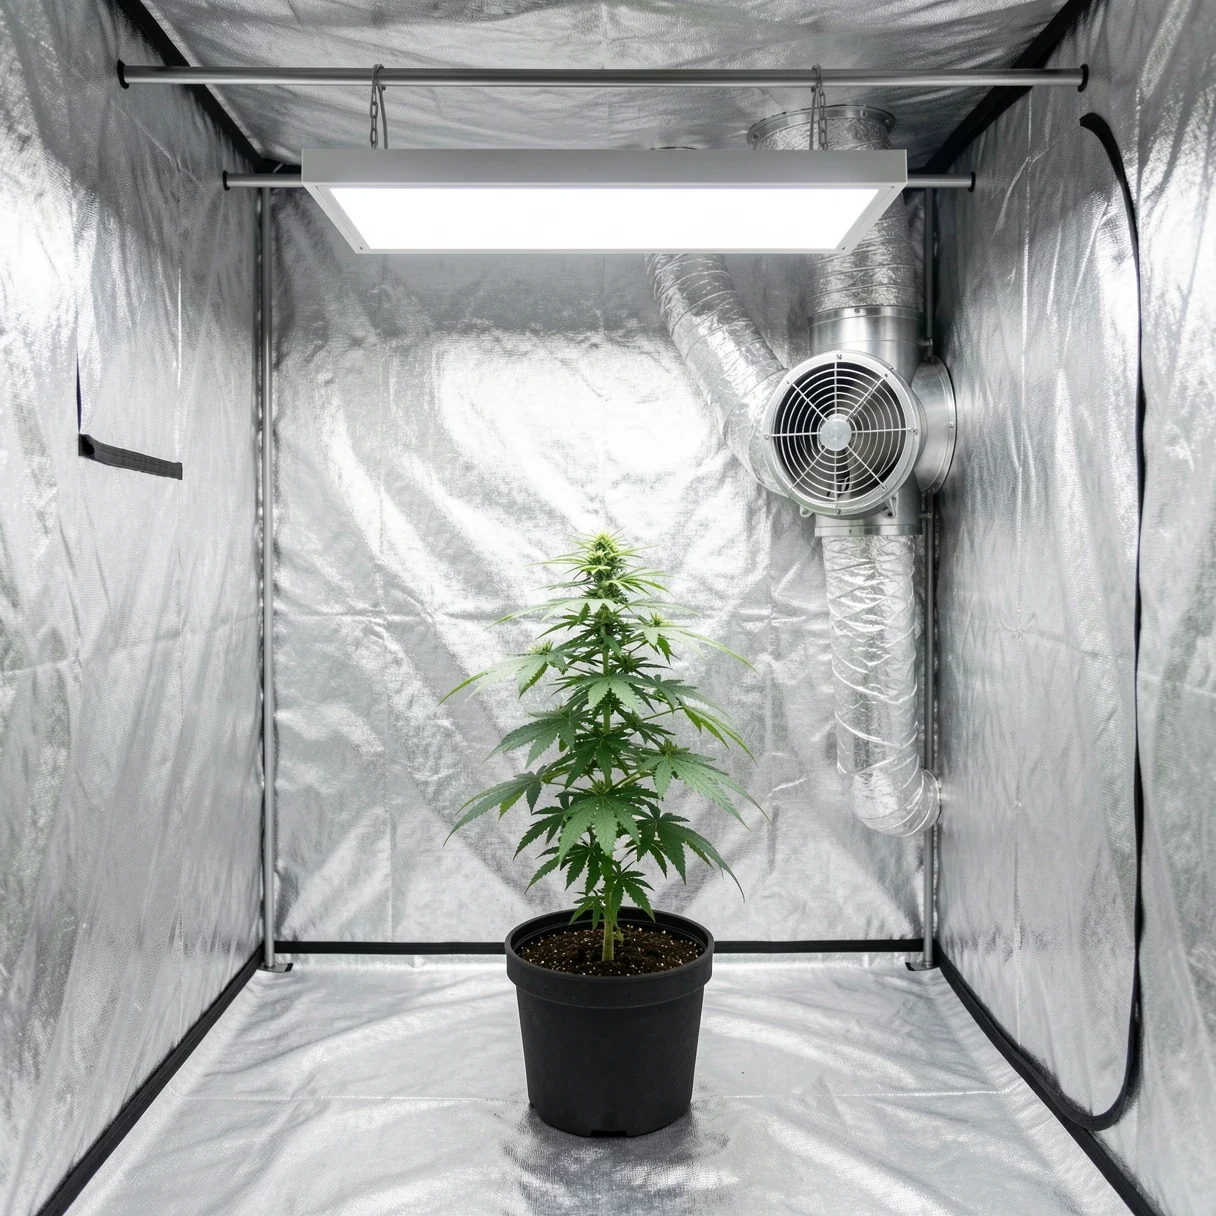
Height matters more than people expect. Plants stretch hard in early flower, and your light has to hang well above the canopy, so a short tent boxes you in fast. A 5-foot tent is tight once you add a light hung from the top bar. Aim for 6 feet or taller if the ceiling allows. The footprint decides how many plants; the height decides whether you can keep them under the light without burning the tops.
A solid grow tent setup starts with honest math: one plant per roughly four square feet of floor if you want room to work, a little tighter if you’re training them flat. Cram more in and you lose the airflow between plants that keeps mold out.
If you spend money on one thing in your grow tent setup, spend it on the light. It’s the single biggest lever on your yield, and it’s where budget tents go to die. Cannabis is unusually greedy for light: a 2021 study in Frontiers in Plant Science found dry flower yield climbed in a straight line as light intensity rose all the way to 1,800 µmol/m²/s — and the plants still hadn’t hit their ceiling. Most home growers are running their tents at a fraction of that. Under-lighting is the most common reason a healthy plant produces a disappointing harvest.
For a tent, a modern LED is the obvious pick. It runs cooler than the old HPS lamps, sips less power, and won’t cook a small enclosed space. Match the light’s coverage to your footprint — a light rated for a 2×2 won’t fill a 4×4, no matter what the wattage on the box says. Hang it on adjustable ropes so you can raise it as the plant stretches and lower it to push the canopy.
Spectrum matters too, though less than raw intensity for a first grow. If you want to go deeper on color and PAR, we broke down the best light spectrum for cannabis and exactly how much light a cannabis plant really needs in their own posts. For your first grow tent setup, the short version is: buy a quality LED sized for your tent, and don’t hang it too far away.
This is where most failed tents fail, and where a grow tent setup either works or doesn’t. A sealed tent with a strong light becomes a hot, stale box within an hour. You need air moving out of it constantly, and that job belongs to an inline exhaust fan mounted at the top, pulling hot air up and out through a duct. Heat rises; put the extraction where the heat collects.
The fan does three jobs at once: it dumps heat, it pulls in fresh CO2-rich air to replace what the plants use, and it drags humidity out before it pools. Size it to your tent — a fan rated for your tent’s volume, ideally able to swap the full air a few times every minute. Too weak and the tent overheats; wildly oversized and you’ll fight to keep humidity up. Most beginners err toward too weak.
Fresh air gets in through a passive intake — a lower vent or flap, opposite corner from the exhaust, so air is dragged diagonally across the whole tent rather than short-circuiting straight up. A negative-pressure tent (walls sucked slightly inward) tells you the exhaust is winning and air is genuinely moving through. If your tent is bulging or the walls are slack, your ventilation isn’t keeping up.
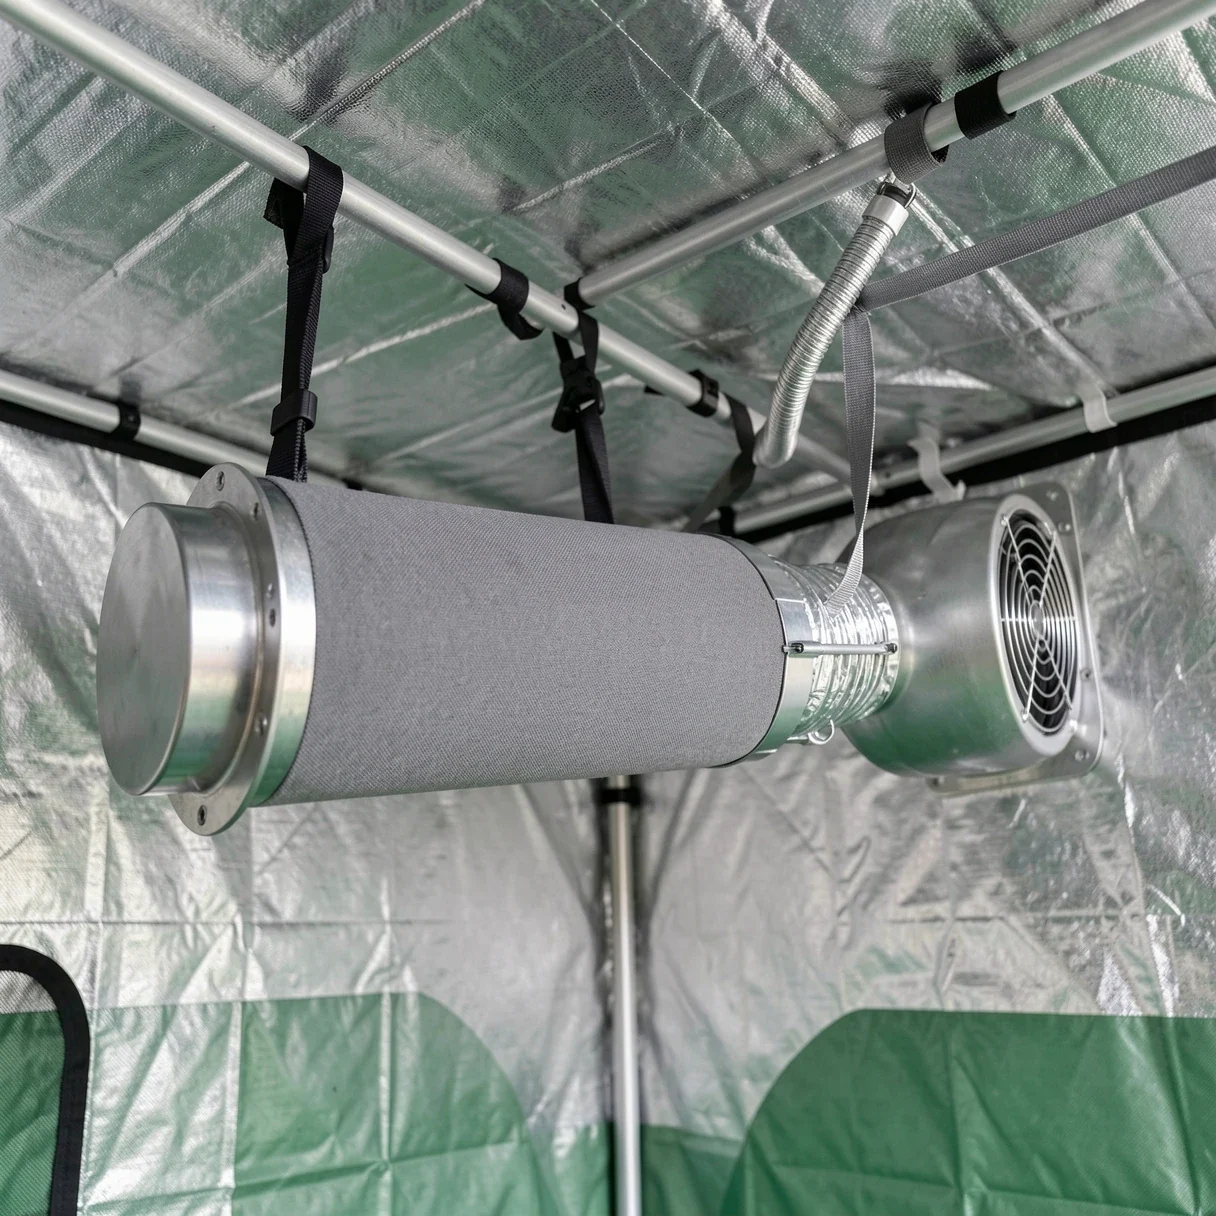
Cannabis in flower smells, and there is no air freshener that beats it — odor control is the part of a grow tent setup people regret skipping. The only thing that actually works is an activated carbon filter spliced into your exhaust line, so every bit of air leaving the tent passes through carbon before it hits the room. Mount the filter inside the tent on the intake side of your exhaust fan, and the fan pulls tent air through the carbon and out the duct.
Two rules keep a filter working: size it to your fan (a filter too small chokes the airflow you worked to build in Step 3), and keep it dry. Carbon filters hate high humidity — run them in a soaking-wet tent and they clog and die early. If discretion matters at all for your grow tent setup, the filter is not optional. Budget for it from day one.
Your exhaust moves air out of the tent. You also need small fans moving air around inside it. A clip-on oscillating fan or two keeps a constant breeze over and under the canopy, and no grow tent setup is finished without it. That breeze does more than cool the leaves. It strengthens stems, it breaks up the pockets of still, humid air where mold starts, and it keeps the temperature even from the canopy to the floor.
Aim the fans to rustle the leaves, not blast them — a steady flutter, not a windstorm that gives you wind-burned, clawing foliage. Point one across the top of the canopy and, in a taller tent, one underneath to stop dead air from settling around the lower stems and the pots.
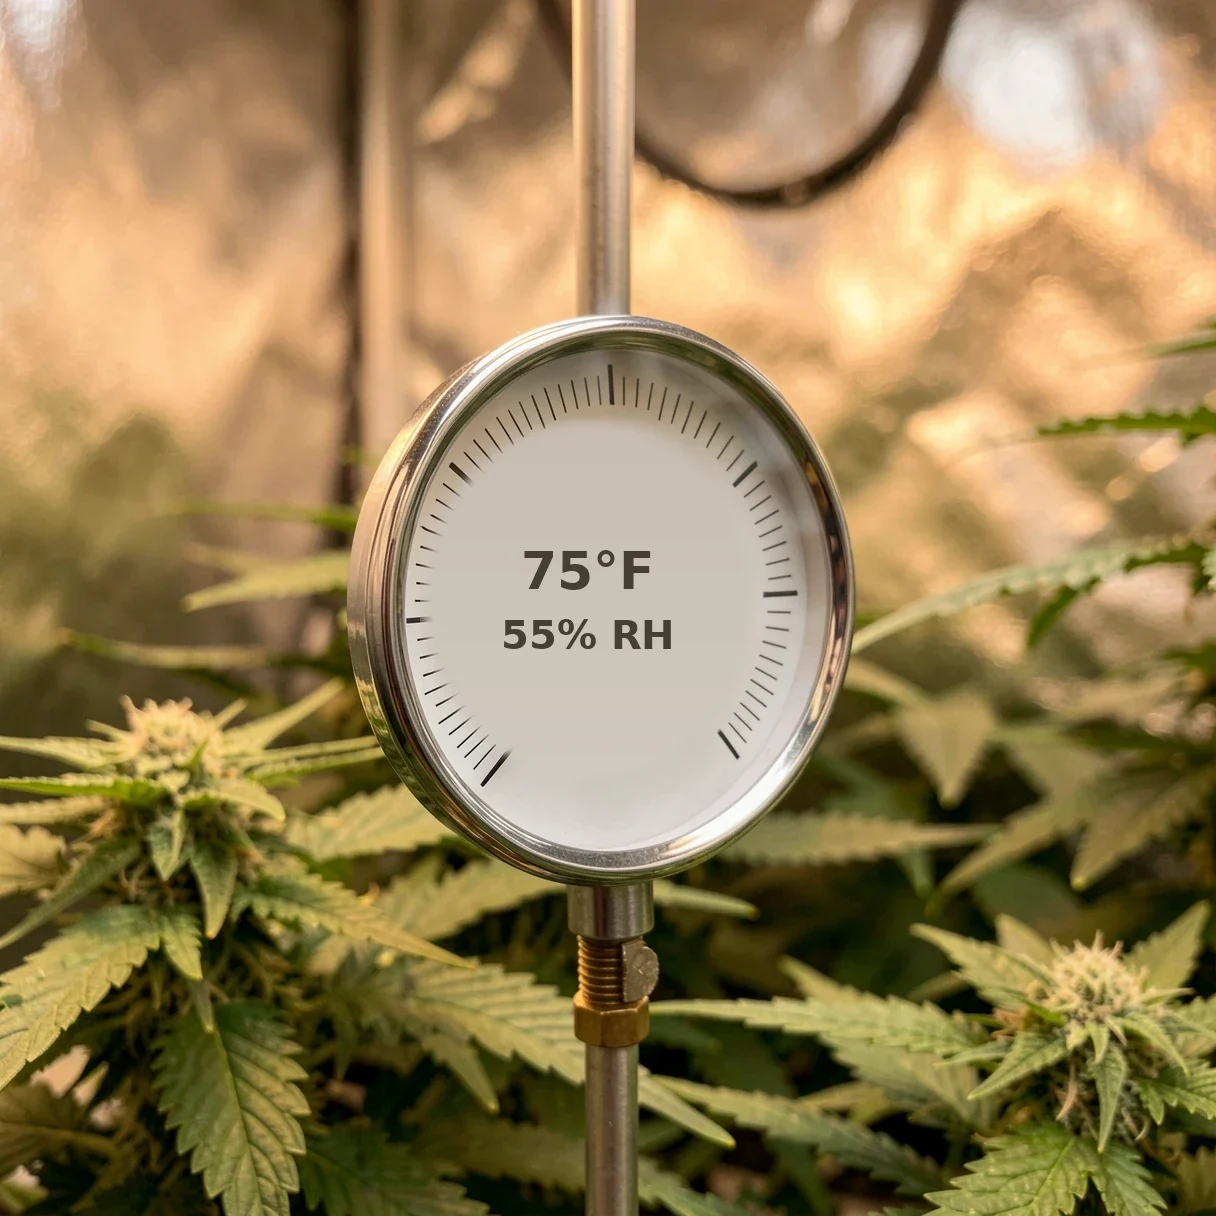
Once air is moving, you’re managing climate. Cannabis is happiest somewhere around 70–80°F with the light on, a few degrees cooler in the dark. Humidity starts high for seedlings and steps down as the plant matures — moist air for young roots, drier air through flower to protect the buds.
That drop in flower isn’t fussiness. High humidity plus still air is exactly the condition gray mold (Botrytis) needs to rot a bud from the inside, and indoor grows are prime territory for it — Oregon State University Extension points to high relative humidity and poor airflow as the core drivers, and ventilation as the core fix. Keeping flowering humidity down and your fans running is mold prevention, full stop.
You’ll hear experienced growers talk about VPD — vapor pressure deficit — which is really just temperature and humidity read together as the plant feels them. You don’t need to chase VPD on a first grow. Hold a sane temperature, lower the humidity as you move into flower, keep the air moving, and you’ve covered what VPD is trying to tell you. A cheap hygrometer-thermometer clipped at canopy height is the one monitoring tool in a grow tent setup worth buying immediately.
The growing side is simpler than the gear. Fabric pots breathe and are hard to overwater, which makes them forgiving for a first run — 3 to 5 gallons is plenty for most tent plants. A quality living soil lets you grow with mostly water and the occasional top-dress; coco coir is faster but wants feeding every watering. For a beginner, good soil in a fabric pot is the path of least resistance.
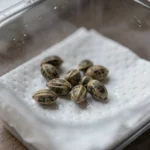
Set the pots on a tray to catch runoff so you’re not mopping the tent floor. Leave yourself room to reach every plant — a grow tent setup you can’t get your hands into is one you won’t maintain. Then it’s down to the basics: germinate, transplant, water when the pot gets light, and watch the plant. We walk through the start in germinating cannabis seeds, and the techniques that turn a healthy plant into a heavy one in maximizing cannabis yield.
A tent runs a light, two or three fans, and a few small devices, all plugged in near water, often in a closet. Don’t daisy-chain cheap power strips into one wall outlet — add up the wattage of everything and make sure the circuit can carry it. A surge protector and a simple timer for your light cycle are worth every penny.
Keep cords off the floor and out of any puddle of runoff. Loop them up and over so water can’t track down a cable into a plug. None of this is exciting, and it’s the part that turns a hobby into a house fire if you ignore it. Treat the electrical side of your grow tent setup with the same respect you’d give any other appliance pulling real power for twelve to eighteen hours a day.
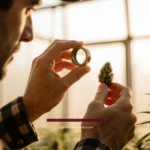
Hardware is only half of a grow tent setup — what you plant in it matters too. Tents reward strains that stay compact and forgiving, which is why autoflowers are a beginner favorite for them — they finish fast, stay short, and don’t need a light-schedule change to flower. A Gorilla Glue Autoflower or a White Widow Autoflower will sit happily under a small light in a 2×2, and a Gelato Autoflower or Bruce Banner Autoflower brings real potency without much fuss. If you’d rather chase flavor, Mandarin Cookies Autoflower is a loud one. Browse the full autoflower seed collection for more compact options.
If you want photoperiod plants instead — bigger yields, full control over veg time — a naturally short, sturdy indica like Northern Lights Skunk tucks into a tent well. Our roundups of the best autoflower strains for beginners and the best beginner strains overall are the fastest way to pick something that won’t punish a first-timer, or you can start from the full feminized seed range.
| Component | Job in the tent | Beginner mistake to avoid |
|---|---|---|
| Tent | Defines and seals the space | Buying bigger than you can fill or power |
| LED light | Drives all the growth | Under-sizing it for the footprint |
| Inline exhaust fan | Removes heat, humidity, stale air | Choosing one too weak for the volume |
| Carbon filter | Scrubs odor from exhaust air | Skipping it, or sizing it under the fan |
| Circulation fans | Move air over and under the canopy | No internal airflow at all |
| Thermometer/hygrometer | Tells you what’s actually happening | Guessing instead of measuring |
| Fabric pots + tray | Healthy roots, easy watering | Pots too big, no runoff tray |
A 2×2 for one plant or a 2×4 for two is the easiest first grow tent setup — small enough to keep stable and cheap enough to light properly. A 4×4 is a great tent, but it needs a bigger light, a stronger fan, and more electrical headroom, so it’s a harder first run, not an easier one.
Yes. Without an inline exhaust fan a sealed tent overheats, traps humidity, and starves the plants of fresh CO2. Ventilation isn’t an upgrade you add later — it’s core to the grow tent setup, right behind the light in importance.
An activated carbon filter on your exhaust is the only reliable answer. Mount it inside the tent ahead of the exhaust fan so all the air leaving passes through carbon. Keep it dry and sized to your fan, and the smell stays in the tent.
Absolutely — that’s exactly what tents are for. A 2×2 fits in a closet, runs on a normal outlet, and with a carbon filter it stays discreet. Compact autoflowers make a small-space grow tent setup even simpler since they stay short and finish fast.
A grow tent setup is just a stack of decisions made in the right order: size the box to your real space, put your money into the light, move air out with a proper exhaust, scrub the smell with carbon, stir the air inside with fans, and watch your temperature and humidity. Get those six things right and the rest of your grow tent setup — the actual growing — is the easy part.
Don’t try to build the perfect room on day one. Start with a tent you can fill, a light that fits it, and air that genuinely moves — then learn your plants and upgrade from there. The grower who runs one tight 2×2 well will out-harvest the one who half-finished a 4×4 every time. Pick a forgiving strain, zip it up, and grow.
Shop Autoflower Seeds | Best Autoflowers for Beginners | Indoor vs Outdoor Growing
Want to keep learning? Browse our full library of cannabis growing guides — everything from germination to harvest, in one place.
Ready to grow? Browse premium seeds from Lighthouse Genetics:
Designed & Built by Wynne Web Design