To grow cannabis from seeds, you need a seed, a pot of decent soil, enough light, and the patience to not fuss over the plant. The common first-grow mistakes aren’t about neglect. They’re about too much: too much water, too much fertilizer, too much handling, or too much hurry at the end.
This guide shows how to grow cannabis from seeds in order, from a dry seed to a cured jar. Each stage gets the things you actually have to do, the few numbers that matter, and the mistake that usually goes wrong there. Every stage also has its own in-depth guide on this site, and we link to it when you want more. We checked the numbers here against those guides and the sources behind them.
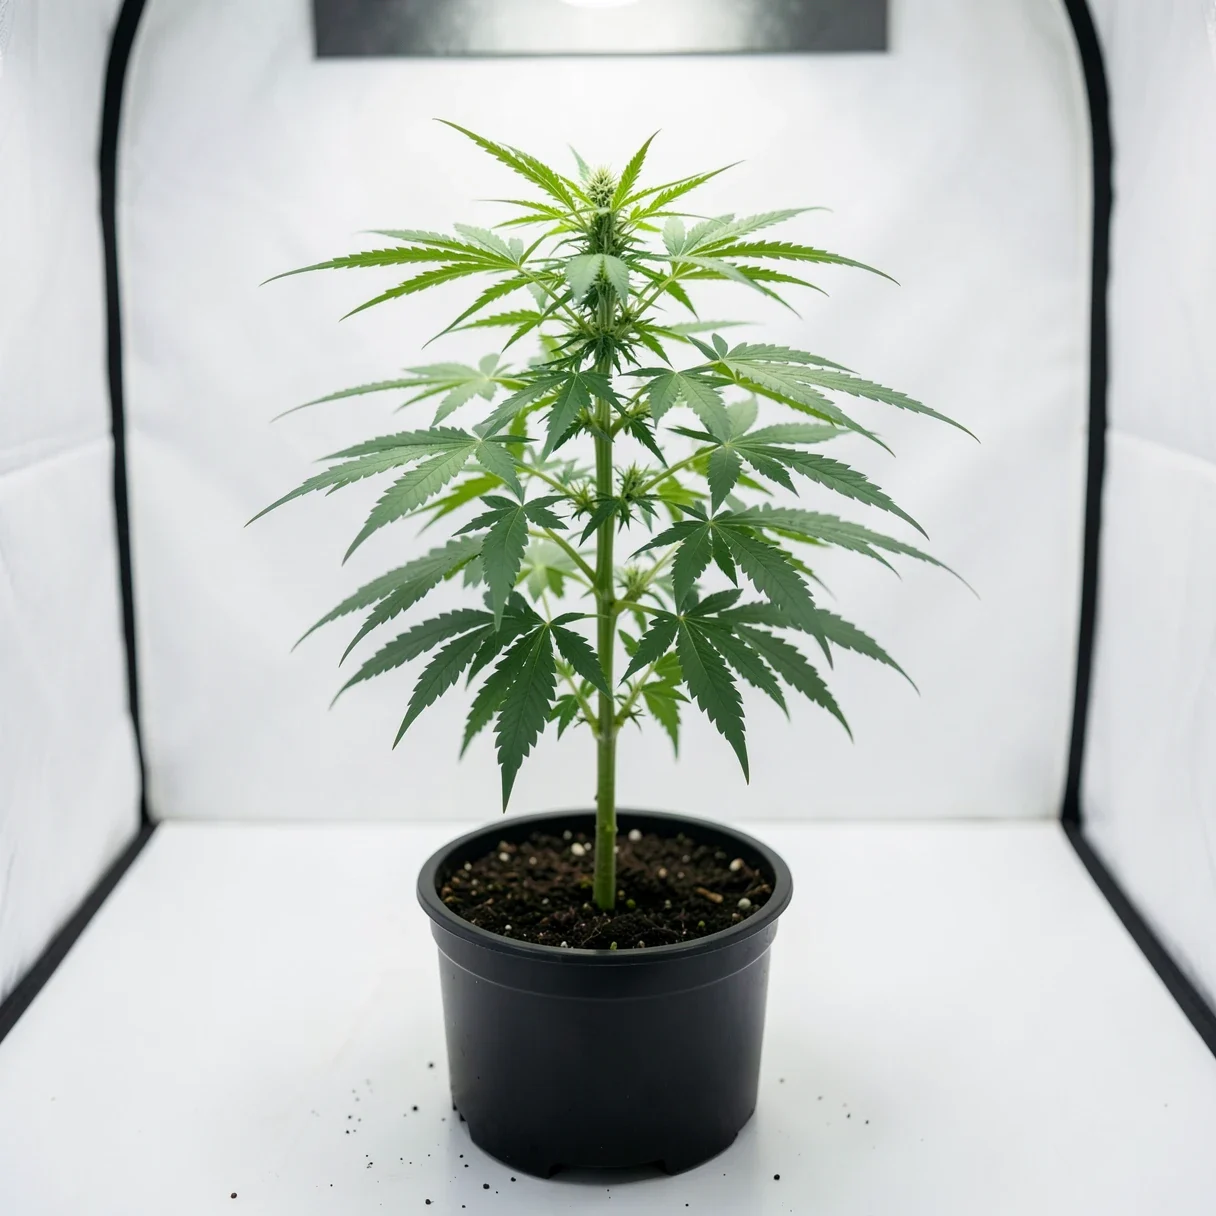
That’s how to grow cannabis from seeds in eight lines. The rest of this page is the detail behind each step.
You don’t need much gear to grow cannabis from seeds, but you do need it in place before the seed gets wet. A sprouted seed won’t wait while you shop.
Indoors, add a small exhaust fan with a carbon filter. Flowering plants smell strong, and still, humid air is how mold gets started. The grow tent setup guide walks through a full kit.
One more thing before you grow cannabis from seeds: home-grow rules depend on where you live. In the US, they’re set state by state. Some states allow a handful of plants, and some allow none. Our cannabis seed laws guide covers the separate question of the seeds themselves. In Canada, federal law allows four plants per household, but provinces add their own rules: Quebec bans home growing, Manitoba allows it indoors only, and some provinces set rules on where seeds must come from. Check your local rules before you plant.
Every attempt to grow cannabis from seeds starts the same way. A seed needs three things to sprout: water, warmth and air. Keep it damp but never sitting in water, at about 21–26°C (70–78°F). Darkness isn’t required. Seeds are kept covered mostly so they don’t dry out.
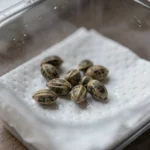
Most growers use one of two methods. The paper-towel method folds the seeds into a damp towel inside a closed container, so you can see exactly which ones sprouted. Direct sowing puts the seed straight into moist soil, and the root never gets handled. We couldn’t find a study that compares the home methods head to head. We suggest the paper towel for beginners because you can watch it happen.
Fresh seed often shows a white root within one to three days. Give it a full week before you worry, and older seed up to two weeks. When the root is out, plant it root down about 1–1.5 cm (½ inch) deep. If you can’t tell which end is which, lay the seed on its side. The root will turn downward on its own.
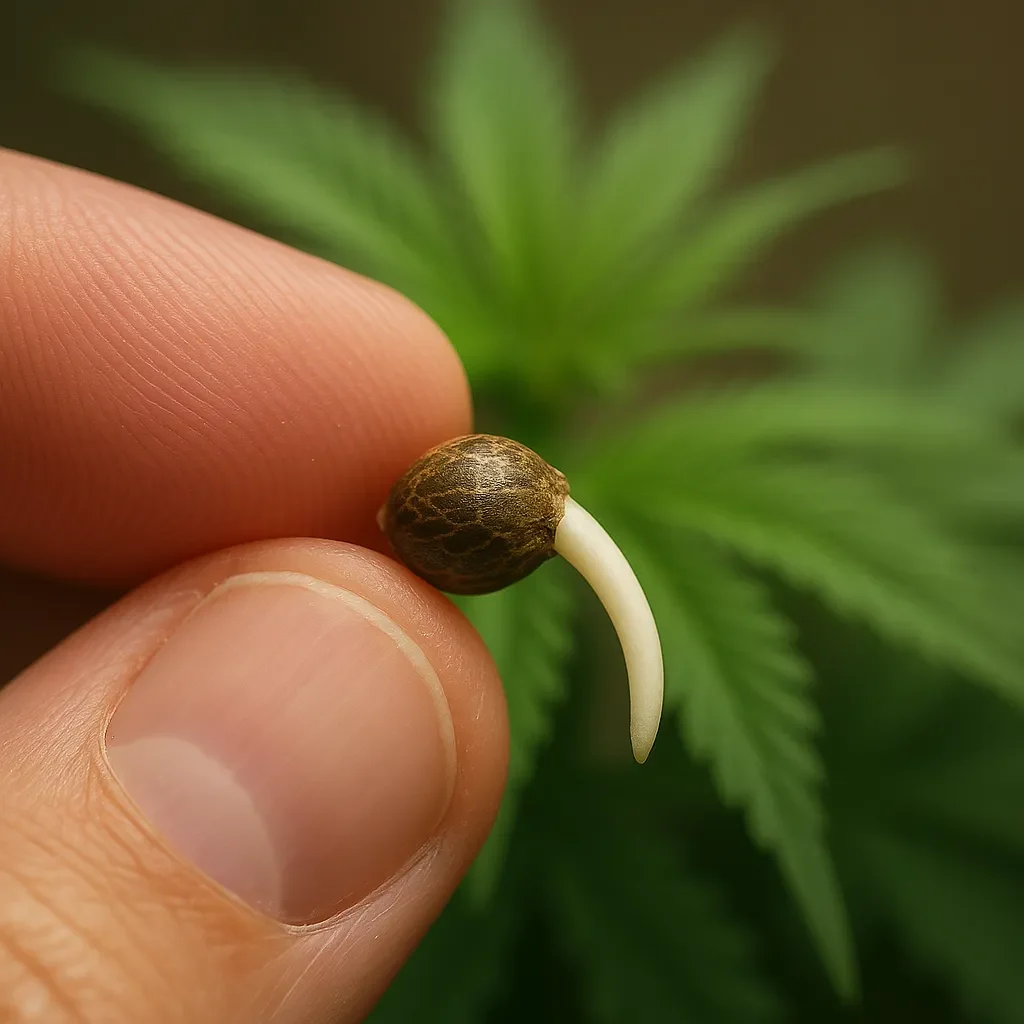
If you grow cannabis from seeds you bought a while ago, know that seed age matters. In a Slovenian study of hemp seed, germination fell from about 96% in fresh seed to 65% after three years in a fridge, and 46% after three years at room temperature. Keep your spare seeds cold and dry, as covered in how to store cannabis seeds.
The full method, including soaking and what to do with stubborn seeds, is in our guide to germinating cannabis seeds. If seeds won’t sprout at all, see why cannabis seeds don’t germinate.
For about two to three weeks the plant is a seedling: a thin stem, two round seed leaves, then the first serrated true leaves. Your job is mostly restraint. When you grow cannabis from seeds for the first time, this is the stage where kindness kills.
Water. A seedling’s roots are tiny and it drinks very little. Give a small amount of water in a ring around the stem, then let the surface dry slightly before the next one. Soggy mix is one of the most common seedling problems. University of Maryland Extension puts it bluntly: when the growing medium stays saturated, roots stop growing and die from lack of oxygen, and the water molds behind damping-off can wipe out a tray of seedlings. An overwatered seedling droops, which looks just like thirst, so it’s easy to make things worse.
Light. Seedlings want gentle light, around 18 hours a day for both autos and photos. A seedling that’s tall, thin and leaning has too little light. A bleached or curling one is usually too close. Our light intensity guide puts seedlings at roughly 150–300 PPFD, much less than a flowering plant needs. Start your light high and dimmed, then follow its hanging chart.
Food. Hold off. A potting soil with fertilizer mixed in will feed a seedling for its first few weeks. Coco carries almost nothing, so plants in coco need a weak feed sooner. Seed-starting mixes vary, so check the bag. Too much fertilizer burns young seedlings fast.
The seedling stage ends when the plant has three or four sets of true leaves and is clearly growing every day. Everything about this stage, including humidity domes and potting up, is in our cannabis seedling stage guide.
Veg is where the plant builds the frame its buds will hang on: stems, branches and a canopy of fan leaves. It’s also where the two ways to grow cannabis from seeds split apart: photoperiods and autoflowers.
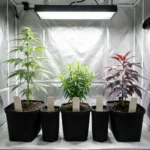
Photoperiods stay in veg as long as they get long days, usually 18 hours of light indoors. That puts the size of the plant in your hands. A short veg keeps it small; a longer one builds a bigger plant and a bigger harvest, as long as it fits your space. Autoflowers don’t wait for you. They flower on age, usually starting a few weeks after sprouting, whatever the light does.
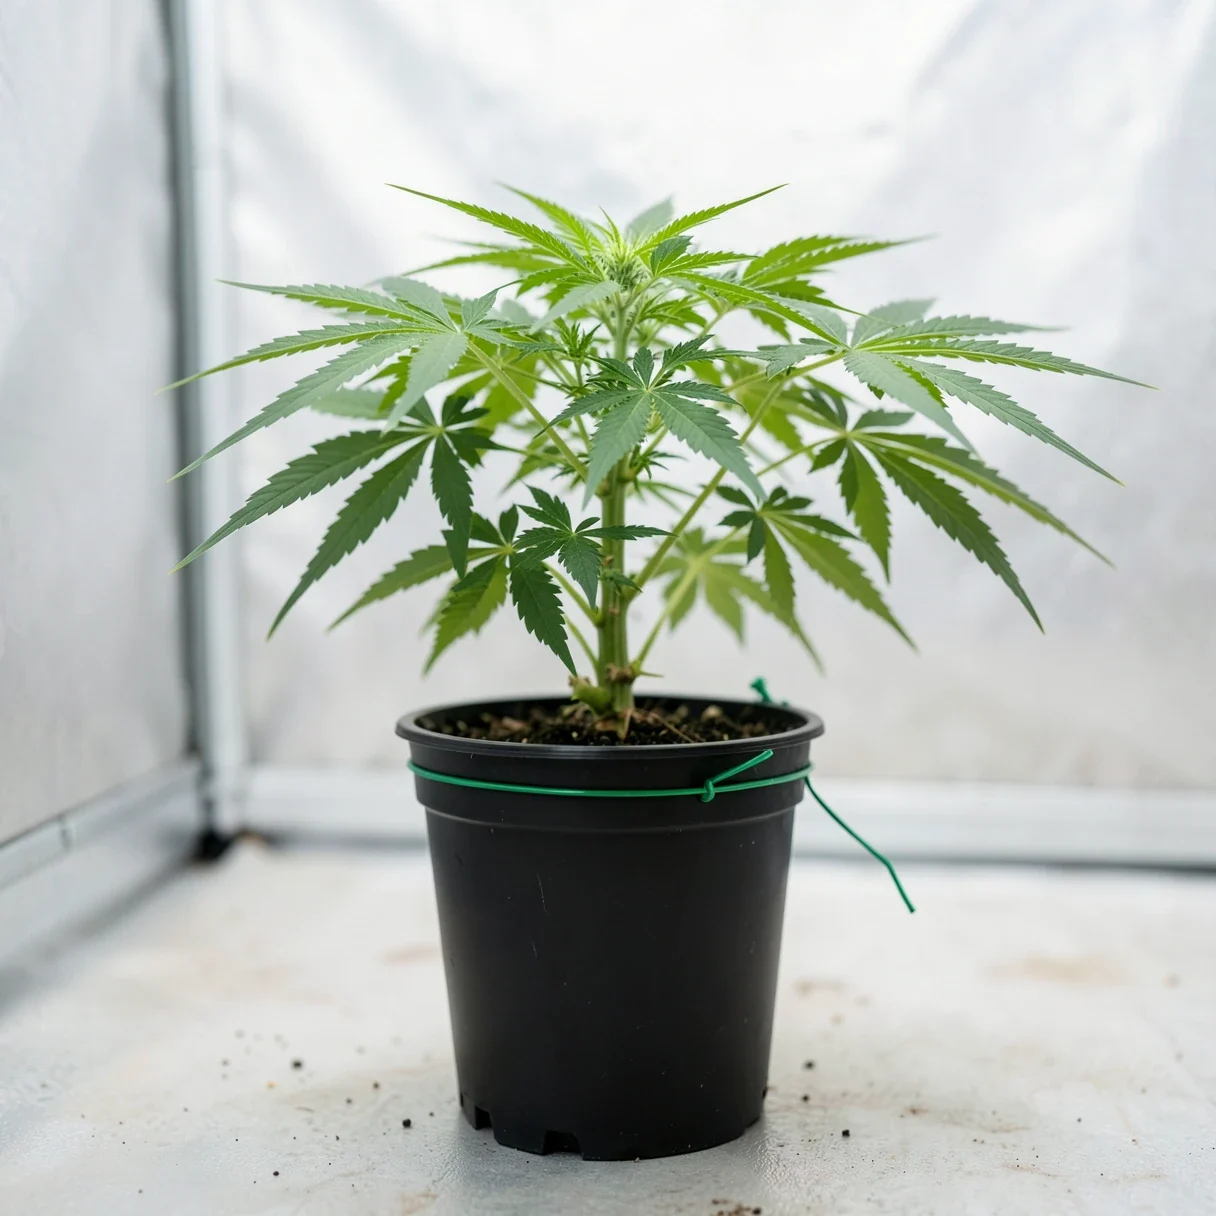
Water on a wet-dry cycle rather than a schedule. Water thoroughly until a little drains out, then wait until the pot feels light and the top inch or two (3–5 cm) is dry. Lifting the pot tells you more than any calendar, and it’s the most useful habit you’ll build as you grow cannabis from seeds. Our watering guide covers runoff and how to tell overwatering from underwatering.
Feed at a low dose and work up. A pale plant is easy to fix with the next feed. Burnt, clawed leaf tips from overfeeding take much longer to grow out. If leaves change color, check pH before you add anything, because a lot of apparent deficiency is lockout. The nutrient deficiency guide shows what each one looks like.
Pot size matters more for photoperiods. Many growers start them in a small cup, move them to about 4 L (1 gallon), then to a final pot around 19 L (5 gallons) for a typical indoor plant. Autoflowers are different, and we come back to that below. The full chart is in cannabis pot size.
Training is optional when you grow cannabis from seeds, but it’s worth it. Gently bending and tying branches outward, called low-stress training, opens the canopy so more bud sites get direct light. Start around the third to fifth node. Topping, which means cutting the main tip so it splits into two, works well on photoperiods once they have five to seven nodes. Our guides to low-stress training and topping vs fimming cover both.
Indoors, photoperiods start flowering when you switch the lights to 12 hours on and 12 hours off. Outdoors, they start when the days shorten in late summer. Autoflowers just start. One Guelph trial found that 13 hours of light could yield more in some cultivars, which our 13-hour photoperiod post explains. The first time you grow cannabis from seeds, stick with 12/12. It’s the safe standard.
Plan for the stretch. In the first two to three weeks after the switch, photoperiods keep growing fast, often by half their height again, and double or more for sativa-leaning plants, depending on genetics. Leave headroom under the light. Our flowering stretch guide shows how much to expect by type.
Keep feeding through flower. A common story says the plant “switches” from nitrogen to phosphorus and potassium, but research doesn’t back a clean switch. One Guelph study found nitrogen still mattered in flower, and adding potassium didn’t raise yield. Our nitrogen guide has the numbers.
Dense buds and damp, still air are how bud rot starts. Bring the humidity down as the buds fill out and keep air moving, including when the lights are off. The bud rot guide covers prevention. Most of the strains in our catalog list a flowering time of about eight to ten weeks. Autoflower listings usually give the time from seed, but some give only the flowering weeks, so check the description.
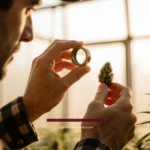
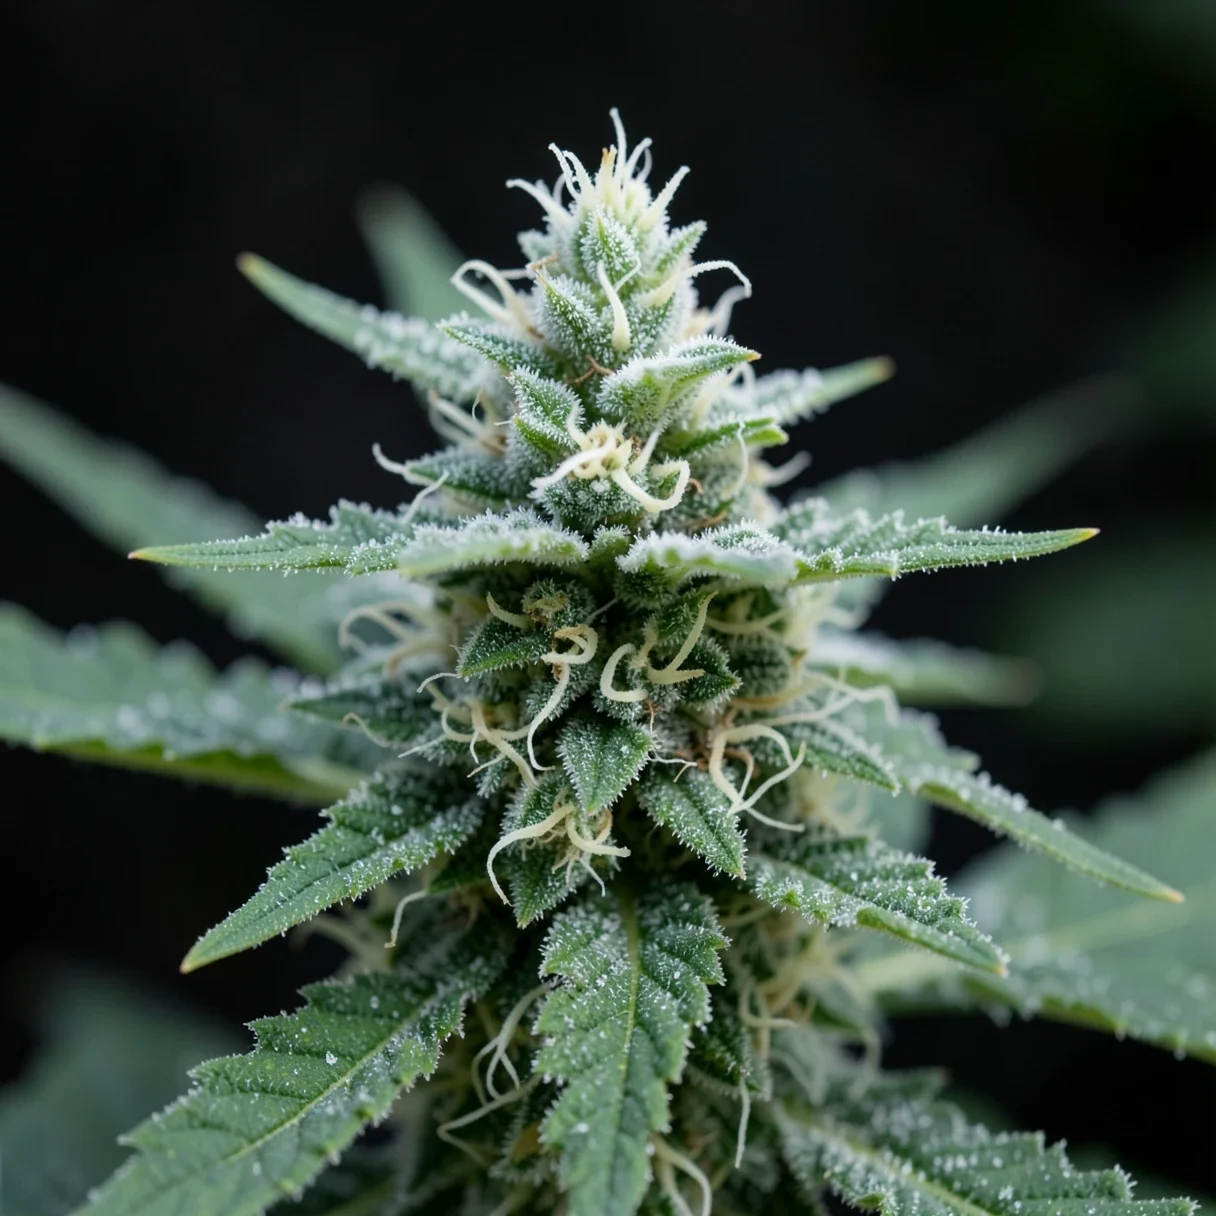
However you grow cannabis from seeds, harvest by the trichomes, the tiny resin glands on the buds. You need magnification of about 30× or more, and you should look at the buds themselves, not the small leaves around them.
Many growers wait for some amber, believing it gives a heavier effect. That’s grower experience. We couldn’t find a study that tested it. The details, including where to look and how top buds ripen ahead of lower ones, are in our guide on when to harvest cannabis.
This is the stage most people rush the first time they grow cannabis from seeds, and it’s the cheapest one to get right. Hang whole branches in a dark room at about 15–20°C (60–68°F) and 50–55% humidity, with gentle air moving around them but not blowing on them. Plan on roughly a week or two. The buds are ready for jars when small stems snap instead of bending.
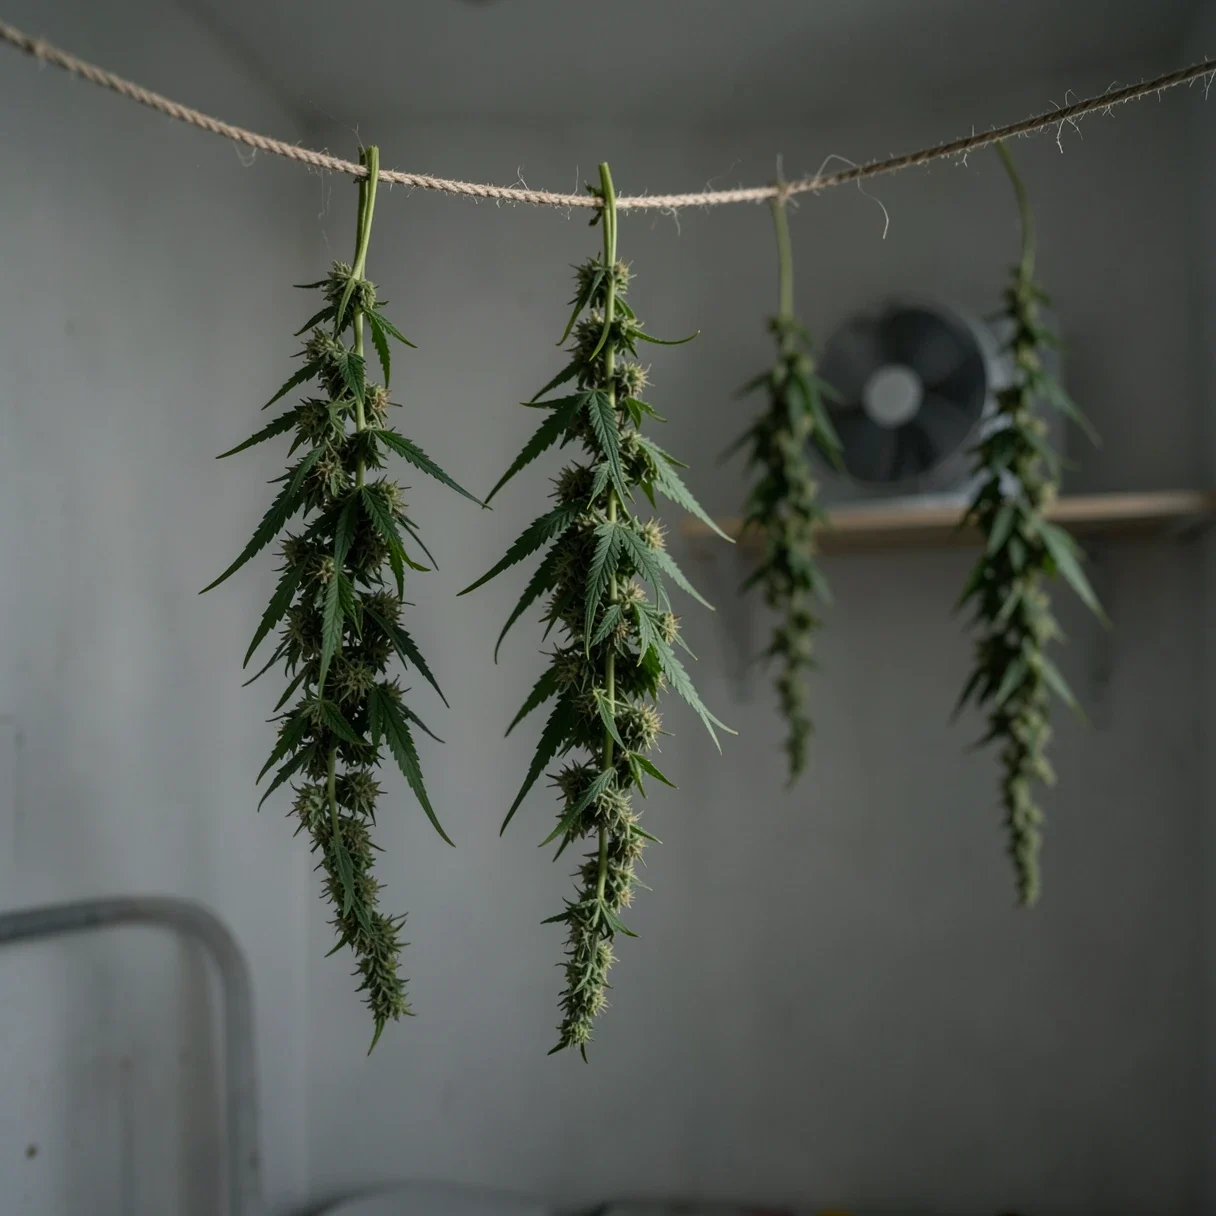
Then cure. Fill glass jars about three-quarters full, and keep a small hygrometer inside if you can, aiming for 58–62% humidity. Open the jars once or twice a day for the first week to let moisture out, then less often as the readings settle. Two weeks is the minimum. Four to eight weeks is better. Our guides cover drying temperature, curing, and whether to trim wet or dry.
One product skips this stage completely. Live resin is extracted from fresh plant material instead of dried, cured flower, which is why it keeps more of the plant’s terpenes. For flower you plan to smoke or vape, drying and curing aren’t optional.
Everything above applies to both types, but autoflowers change a few rules when you grow cannabis from seeds.
Our pick for the first time you grow cannabis from seeds is an autoflower. There’s no light schedule to time, and the whole grow fits in a few months. White Widow Autoflower, Bruce Banner Autoflower and Moby Dick Autoflower are all rated Easy on their listings. Every autoflower we sell is feminized, so every seed should grow a bud-producing female. The full comparison, yields included, is in autoflower vs feminized seeds, and our best autoflower strains for beginners list has more picks.
If you have the space and want a bigger plant, a feminized photoperiod lets you choose how long to veg. White Widow, Northern Lights Skunk and Afghani are all rated Easy, and so is Blue Monkey Dick, one of Mac’s own originals. Browse all autoflower seeds or feminized seeds.
You can grow cannabis from seeds outside, and it’s the cheapest way to do it. The difference is who controls the clock. Indoors, you decide when the light changes. Outdoors, the sun does, and the season sets your deadline.
Seedlings die in frost, so if you grow cannabis from seeds outdoors, start them indoors and plant out after your area’s average last frost date. That date is only an average, so keep an eye on the forecast. Outdoor photoperiods flower as the days shorten in late summer, which means a fall harvest. In short northern seasons that can run into the first frosts and fall rain. Autoflowers dodge most of that because they finish on their own timeline. Our outdoor guides for Canada and the eastern US go region by region, with frost dates and local plant rules.
Notice that almost every item on that list is doing too much, not too little. That’s the real lesson when you grow cannabis from seeds.
No. The basics are simple, and the common first-grow problems come from doing too much: too much water, too much fertilizer, too much hurry at harvest. Start with an autoflower in plain potting soil, and you give yourself the best shot at usable flower on your first try.
About 12 to 15 weeks for a typical autoflower and 14 to 22 weeks for an indoor photoperiod, from seed to cured jar, and longer if you give the cure its full four to eight weeks. Outdoor photoperiods take most of a season. The stage-by-stage breakdown is in how long to grow cannabis.
For a first grow, autoflower. There’s no light switch to time, they finish fast, and every autoflower we sell is feminized. Choose a feminized photoperiod if you want a bigger plant and control over when it flowers.
No. Plenty of growers grow cannabis from seeds sown straight into moist soil, about 1–1.5 cm (½ inch) deep, with no paper towel at all. Germinating in a paper towel first just lets you see which seeds sprouted before they go into soil.
Drying and curing. Live resin is extracted from fresh plant material instead of dried, cured flower. When you grow cannabis from seeds for flower, drying and curing are what turn a harvest into something smooth to smoke.
To grow cannabis from seeds, get a few things right: a damp, warm start, a gentle seedling stage, steady feeding through veg and flower, a harvest timed by the trichomes, and a cool dry. Do those and the plant does most of the work. If you’re only going to remember one thing, make it this: the common first-grow mistakes come from doing too much. Our cannabis growing guides take each stage further when you’re ready.
Shop cannabis seeds | Browse autoflower seeds | Germinating cannabis seeds
Want to keep learning? Browse our full library of our cannabis growing guides — everything from germination to harvest, in one place.
Ready to grow? Browse premium seeds from Lighthouse Genetics:
Designed & Built by Wynne Web Design